Home>Storage Ideas>14 Best Storage And Organization For 2024
Storage Ideas
14 Best Storage And Organization For 2024
Modified: January 9, 2024
Discover the 14 best storage and organization solutions for 2023. Declutter your space and stay organized with these innovative products.
(Many of the links in this article redirect to a specific reviewed product. Your purchase of these products through affiliate links helps to generate commission for Storables.com, at no extra cost. Learn more)
Introducing the 14 Best Storage And Organization for 2023! If you are looking to declutter and optimize your living space, this comprehensive guide is your ultimate resource. From innovative storage solutions to clever organization ideas, we have curated a selection of the top products that will help you maintain order and simplicity in every aspect of your life. We understand the importance of efficient storage and organization, and our expert team has handpicked these 14 must-have items to ensure that you have the best tools at your disposal. Stay ahead of the game and transform your space in 2023 with these top-notch storage and organization solutions.

Overall Score: 9/10
The Utopia Home Pantry Organization and Storage Bins is a set of 8 clear plastic drawers of varying sizes that help organize and manage your pantry and fridge. Their user-friendly design takes up minimal space and is easy to handle, with built-in handles on each bin. These strong and durable pantry organizers are perfect for keeping your groceries in order. Although they are not dishwasher safe, they can easily be cleaned with hands using a light detergent and water. The transparent design makes it easier to search for items inside the bins. The 4 large and 4 medium drawers can accommodate a large quantity of groceries.
Key Features
- Set of 8 clear fridge organizers
- Not dishwasher safe
- Great storage capacity
- Strong construction, transparent design
- User-friendly with built-in handles
Specifications
- Color: Clear
- Dimension: 3.90Lx7.00Wx14.50H
- Size: Pack of 8
- Unit count: 8
Pros
- Sturdy and good quality
- Helps keep refrigerator organized and clean
- Easy to clean and makes fridge so much more organized
- Different sizes help reduce clutter
- Fit in every pantry
Cons
- Not stackable
- Protruding design results in some unusable space
- Bottoms not polished off
The Utopia Home Pantry Organization and Storage Bins is a great buy for anyone looking for an easy and efficient way to organize their fridge and pantry. These strong and durable pantry organizers are user-friendly and have a transparent design that makes finding items easier. Although they are not dishwasher safe, they are easy to clean by hand. With a 4.8/5 rating and mostly positive reviews, it is a definite yes if you’re in the market for clear plastic drawers. With that, I give this product a score of 9/10.

Overall Score: 8/10
The YouCopia UpSpace Adjustable Box Organizer is perfect for maximizing space in the cabinet or pantry. The shelves can be adjusted to fit any size boxes, while the sturdy non-slip feet ensure it stays put. It's easy to assemble and made from high-quality plastic and coated steel that's easy to clean. This organizer measures 10.8" D x 8.8" W x 9.2" H, holding up to 20 lbs. on steel wire supports. Customers rated it 4.4 out of 5.
Key Features
- Adjustable shelves
- Sturdy non-slip feet
- Holds up to 20 lbs on steel wire supports
- Quick assembly with no tools required
- Made from high-quality plastic and coated steel
Specifications
- Color: White
- Dimension: 10.80Lx8.80Wx9.40H
- Size: Original
- Unit count: 1
Pros
- Adjustable shelves to fit any size boxes
- Sturdy non-slip feet
- Easy to assemble with no tools required
- Made from high-quality materials
- Maximizes kitchen cabinet space
Cons
- Smaller size than expected
- Holds less than pictured
The YouCopia UpSpace Adjustable Box Organizer is an excellent choice for those seeking to maximize their kitchen cabinet or pantry storage space. Its adjustable shelves, sturdy non-slip feet, and easy assembly make it an essential kitchen accessory. Although it may be smaller than pictured, it has plenty of advantages such as being made from high-quality materials and holding up to 20 lbs. Overall, this is a great organizing solution that many customers love.

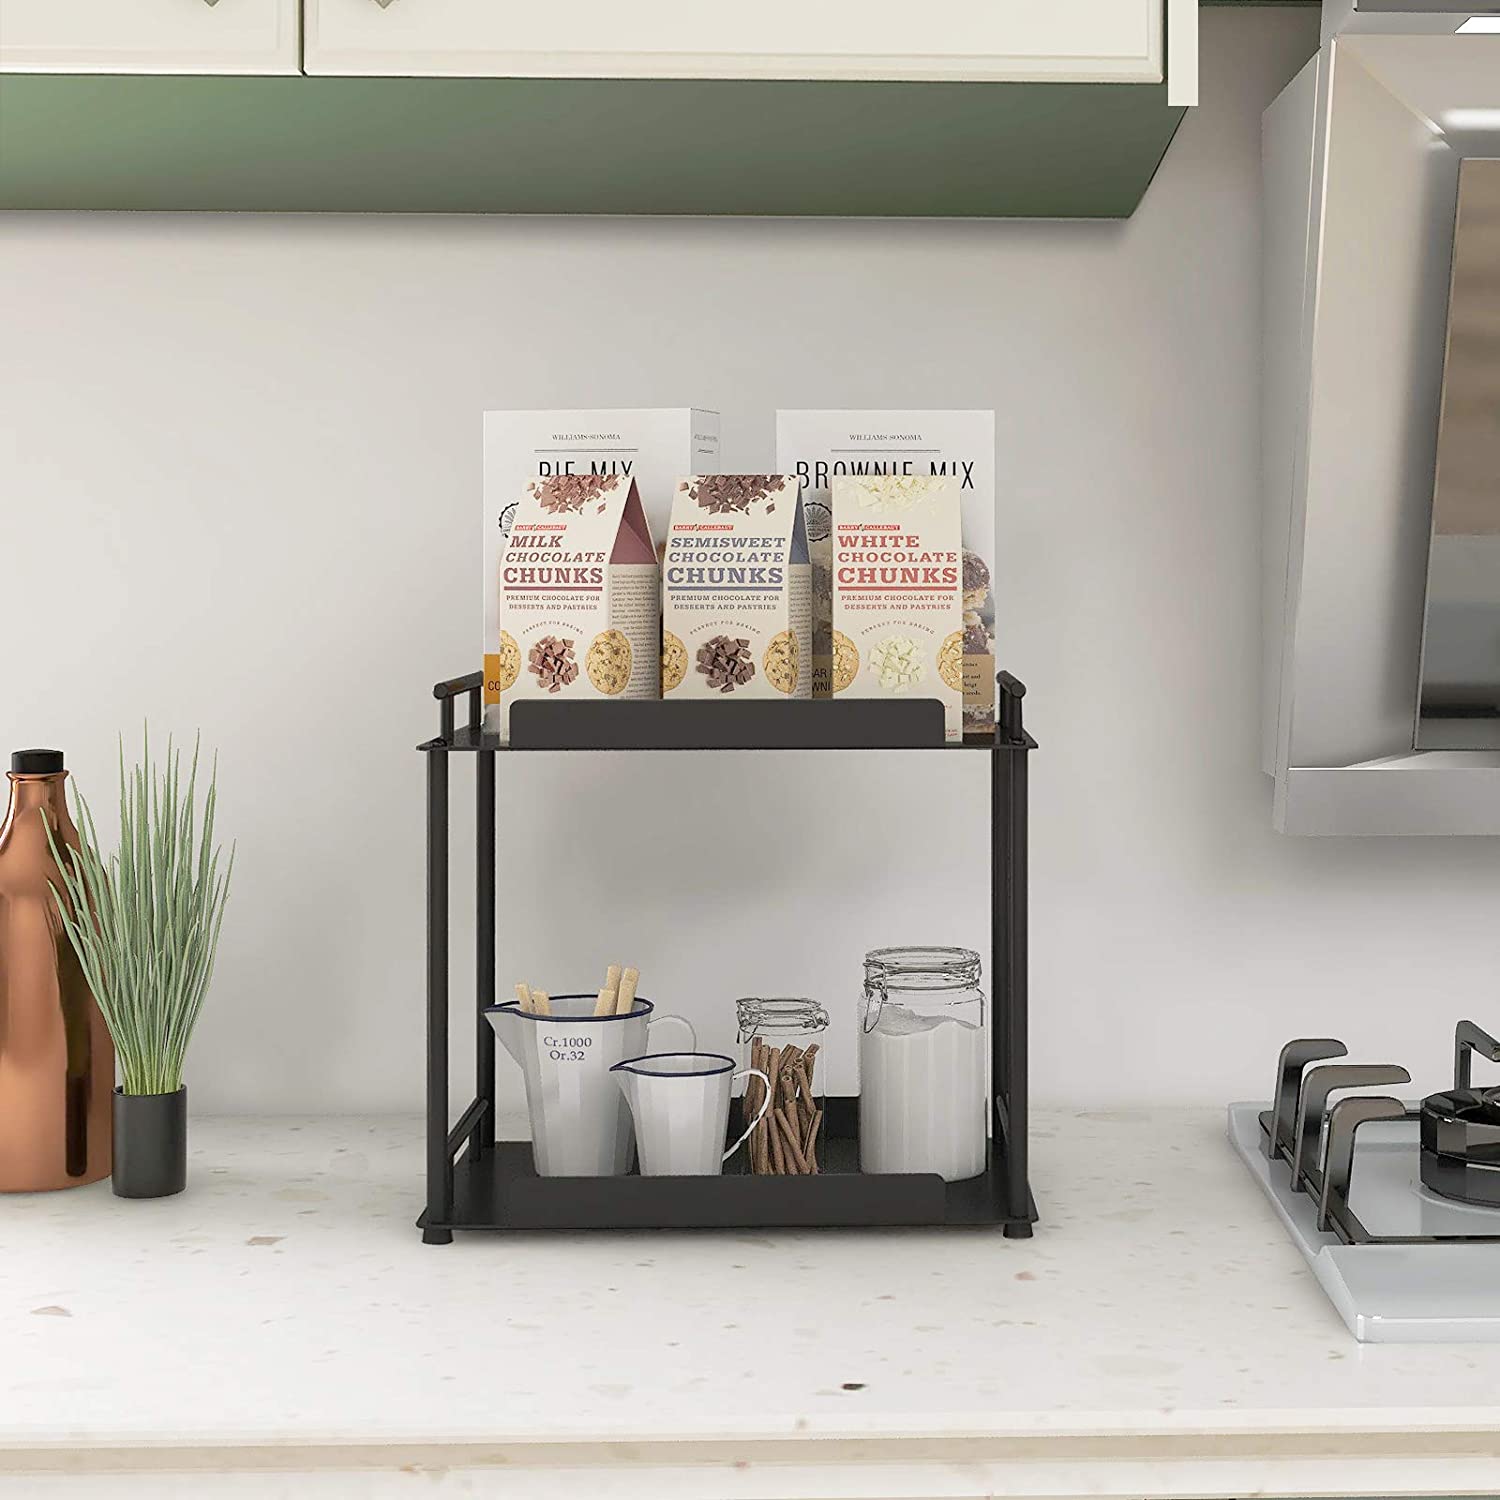
Overall Score: 8/10
The Huggiecart Under Sink Organizers and Storage is a versatile storage solution that maximizes space in your kitchen, bathroom, or any other room. With its two-tier design and pull-out sliding drawers, you can store and organize a variety of items conveniently. The product is made of high-quality ABS plastic material, ensuring durability and strength. It also features four hooks for additional storage options. The hollow design prevents water accumulation and makes cleaning easier. Easy to install and clean, this under sink organizer is a practical and efficient solution for your storage needs.
Key Features
- Multifunctional storage for various rooms
- Double-layer design maximizes storage space
- Comes with a cup and four hanging buckles for small items
- Hollow design prevents water accumulation
- Easy to install and clean
Specifications
- Color: Black
- Dimension: 15.75Lx8.66Wx12.40H
- Unit Count: 1
Pros
- Versatile storage for multiple scenarios
- Durable and rust-resistant material
- Added support tubes for more storage space
- Convenient pull-out drawer and hooks
- Under sink organizer works well in any space
Cons
- Drawer slides may catch with weight
- Not a perfect fit for all sinks
- Plastic material feels brittle
- Doesn't fit tall bottles
The Huggiecart Under Sink Organizers and Storage is a practical and efficient solution for maximizing storage space in any room. With its versatile design and durable ABS plastic material, it offers convenience and durability. The added support tubes and pull-out drawer provide added functionality. While there are some minor drawbacks, such as the drawer catching with weight and not fitting all sinks perfectly, the overall performance and usability of the product make it a worthwhile purchase. Whether you need to organize your kitchen, bathroom, or laundry room, this under sink organizer will help you make the most of your storage space.

Overall Score: 8.5/10
Organize your kitchen and pantry with the 24 Pack Airtight Food Storage Container Set. These stackable plastic containers are designed to keep your food dry and safe, with an airtight 4 side locking lid to protect against pests, moisture, and air oxidization. The practical stackable design maximizes your space and keeps your items organized and easy to find. Made of durable high-quality BPA free plastic, these containers are easy to clean and maintain. The set includes containers of various sizes to store a wide range of dry goods, and it also comes with free bonus labels, a chalk marker, and a measuring spoon set. Overall, this food storage container set is a great value for its quality and functionality.
Key Features
- Airtight 4 side locking lids
- Practical stackable design
- Durable high-quality BPA free plastic
- Easy to clean and maintain
- Various sizes for versatile storage
- Free bonus labels, chalk marker, and measuring spoon set
Specifications
Pros
- Keeps food dry and safe
- Maximizes space and keeps items organized
- High-quality and food safe materials
- Easy to clean and maintain
- Comes with bonus labels and measuring spoons
Cons
- Containers may be delicate and prone to cracking
- Some labels are hard to peel off
- Shipping limitations for certain locations
The 24 Pack Airtight Food Storage Container Set offers excellent functionality and convenience for organizing your kitchen and pantry. The airtight lids ensure that your food stays fresh and protected, while the stackable design maximizes storage space. The durable BPA free plastic construction is easy to clean and maintain, making it perfect for everyday use. The set’s various sizes cater to different storage needs, and the bonus labels and measuring spoon set are a nice addition. Although there may be some durability concerns and shipping limitations, overall, this container set provides great value and is highly recommended for anyone seeking efficient and organized food storage.

Overall Score: 9.5/10
The Plastic Wrap Dispenser with Cutter is a versatile and eco-friendly kitchen organizer that combines the functions of a sealed bag storage and a plastic wrap cutter. Made of natural bamboo wood, this durable and well-constructed organizer is designed to last for years. It features easy identification labels for effortless content identification and can be connected to hang on the wall or detached to put on your drawer or counter. The easy-to-clean surface and integrated design make your kitchen neat and orderly. With its compatibility with various bag sizes and the included drawer organizer storage box, this organizer is perfect for keeping your kitchen clutter-free. It also makes a great gift idea for organization lovers.
Key Features
- Made of natural bamboo wood
- Easy identification labels
- Can be hung or placed on counter/drawer
- Easy-to-clean surface
- Compatible with various bag sizes
- Includes drawer organizer storage box
Specifications
- Color: Wood
- Dimension: 13.58Lx12.28Wx7.28H
- Unit count: 1
Pros
- Durable and well-constructed
- Versatile and eco-friendly
- Ample storage space
- Stylish and functional design
- Compatible with various bag sizes
Cons
- Wrap slots could be longer
- Wrap cutters could be sturdier
The Plastic Wrap Dispenser with Cutter is a game-changer for kitchen organization. With its durable construction, versatile functionality, and stylish design, it simplifies your life in the kitchen while adding a touch of elegance. The ample storage space and easy identification labels make it easy to keep your kitchen clutter-free. While the wrap slots and cutters could be improved, they do not significantly affect the overall performance of the product. Overall, this organizer is a worthwhile investment for anyone looking to improve their kitchen organization and efficiency. It also makes a great gift for organization lovers. Say goodbye to messy drawers and shelves with the Plastic Wrap Dispenser with Cutter!

Overall Score: 9/10
ClearSpace Plastic Storage Bins are large capacity, functional, and versatile. They are perfect for creating a clean and organized refrigerator or pantry. The durable and clear BPA-free and Chlorine-free shatter-resistant plastic construction makes them food-safe and easy to clean. With built-in, easy-grip side handles, these plastic storage bins are portable and stackable, ideal for anywhere in your home. Each bin measures 11” x 8” x 6” and is perfect to use in the kitchen, pantry, office, craft rooms, classrooms, nurseries, and more.
Key Features
- Large capacity and versatile
- Functional and versatile
- Portable and Stackable
- BPA-free and Chlorine-free shatter-resistant plastic construction
- Perfect size for storage (each measure 11” x 8” x 6”)
Specifications
- Color: Clear
- Dimension: 11.00Lx8.00Wx6.00H
- Size: 4 Pack
Pros
- Sturdy and durable
- Easy to clean and transport
- Perfect for organizing any room
- Ideal for home and professional organizers
- Best for pantry, kitchen, office, etc.
Cons
- Not stackable
- Flexible plastic material
- Not great for heavy items
ClearSpace Plastic Storage Bins are perfect for organizing any room in your home. With their portable and stackable design, you can place these bins anywhere, from your pantry to your office, craft room, nursery, and more. They are made of durable and BPA-free shatter-resistant plastic that makes them safe to use for food and easy to clean. Although they are not ideal for stackable use, they remain versatile and functional. In conclusion, ClearSpace Plastic Storage Bins are an excellent choice for individuals who value organization and seek versatile storage options.

Overall Score: 8/10
Maximize your pantry space with the Skroam BPA free plastic storage containers with silicone gasket lids to keep food fresh and dry. Available in 4 sizes with bonus measuring spoon set and labels. Easy to clean and stackable design. Makes a great gift. Made of food-grade plastic.
Key Features
- 4 different sizes
- Marker and labels included
- Stackable design
- Airtight silicone gasket lids
- BPA-free food-grade plastic
- Lovely gift set
Specifications
- Color: Black
- Dimension: 8.03Lx6.38Wx13.54H
- Unit count: 14
Pros
- Various sizes
- Included marker and labels
- Stackable design
- Airtight silicone gasket lids
- BPA-free food-grade plastic
- Makes a great gift
Cons
- Difficult to close for some
- Lids may weaken over time
The Skroam food storage containers are a great addition to any pantry. They are durable, stackable, and space-saving with their multiple sizes. The airtight silicone gasket lids keep food fresh, though some may find them difficult to close. The included marker and labels make organization a breeze. Plus, the set makes a lovely gift for anyone looking to organize their kitchen. Just be mindful of the lid design and potential weakening over time.

Overall Score: 7/10
The SNSLXH Stackable Plastic Storage Bins are multifunctional and convenient for storage of toys, books, clothes, sheets, snacks, drinks, tools, art supplies, photos, medicines, etc. These storage boxes can be stacked freely and the slide rails design makes it convenient to easily pick items even from the most inner box. Made of durable and safe PP material, the translucent opening allows you to find your items instantly and saves your time. The dimensions of each storage box is perfect with folded dimensions of 15.8x10x1.8 inches. However, the drawer function of these bins was not viable according to some reviews. Overall, it's a good solution for those looking for stackable plastic storage bins.
Key Features
- Multifunctional storage
- Stackable or individually
- Slide rails design
- Durable and safe PP material
- Perfect dimensions
Specifications
- Color: Clear with Black
- Dimension: 15.80Lx10.00Wx7.70H
- Size: 15.8 x 10 x 7.7 inches
- Unit count: 4
Pros
- Quick and easy assembly
- Durable material
- Good for organizing craft items
- Can see through for quick access
- Easy to assemble
Cons
- Drawer function not viable
- No outer structure to support drawer
- Not toddler friendly
- Misleading post
The SNSLXH Stackable Plastic Storage Bins provide a convenient and efficient solution for storage in closets, living rooms, and garages. Keep in mind that the drawer function is not viable according to user reviews. However, if you’re looking for stackable storage in an affordable price range, these bins are worth considering.

Overall Score: 9/10
Keep your kitchen drawer neat and organized with the SpaceAid Bag Storage Organizer. This bamboo box is designed specifically for storing food storage bags and comes with four slots that can fit Gallon, Quart, Sandwich, and Snack sizes bags. The organizer features 21 label stickers for easy identification of drawer contents. With no assembling needed, the bamboo organizer box is ready to use and comes fully assembled. It is designed to fit in different sizes of drawers, ensuring it meets your specific needs. The SpaceAid Bag Storage Organizer is a fantastic tool for organization, making it easier to grab storage bags when you need them.
Key Features
- FOOD STORAGE BAG HOLDER – Make your drawer neat and organized
- Compatible with Gallon, Quart, Sandwich, and Snack sizes bags
- 21 LABEL STICKERS INCLUDED – Identify drawer contents instantly
- 1 BOX WITH 4 SLOTS – Organize different sizes of food storage bags
- NO ASSEMBLING NEEDED – Comes fully assembled and easy to use
Specifications
- Color: Natural
- Dimension: 12.75Lx12.00Wx3.00H
- Unit count: 1
Pros
- Fantastic organization tool
- Big enough for long bags
- Includes label stickers for easy identification
- No assembly required
- Solid and sturdy design
Cons
- Lid could use a locking mechanism
- Black stickers don't work on black wood
- Quart size bags are a little small
The SpaceAid Bag Storage Organizer is a must-have for anyone looking to keep their kitchen drawer organized. Its bamboo construction and four slots provide ample space for storing different sizes of food storage bags. The included label stickers make it easy to identify the contents of each slot, ensuring quick access to the right bag. While the lid could benefit from a locking mechanism, the overall quality and functionality of this organizer are impressive. Say goodbye to cluttered drawers and hello to a well-organized kitchen with the SpaceAid Bag Storage Organizer.

Overall Score: 9/10
ClearSpace Plastic Storage Bins with Lids X-Large are perfect for creating a clean and organized space in your refrigerator, pantry, or any room in your home. These versatile bins can be used in craft rooms, bedrooms, bathrooms, kitchens, offices, garages, toy rooms, and more. The easy-grip side handles make them portable and stackable, while the durable and clear BPA-free plastic construction ensures longevity. Each bin measures 12.5” x 9.5” x 7” and comes with a lid for added convenience. These storage bins are functional, versatile, and ideal for both home and professional organizers.
Key Features
- Ideal storage with lids
- Functional & versatile
- Portable & stackable
- Quality construction
- Perfect storage size
Specifications
- Color: Clear
- Dimension: 12.50Lx7.00Wx9.50H
- Size: 4 Pack
Pros
- Great for creating clean and organized spaces
- Versatile bins for various rooms and purposes
- Portable and stackable with easy-grip handles
- Durable and clear BPA-free plastic construction
- Comes with lids for added organization
Cons
- Some customers received broken containers
- Smaller than expected for a few customers
- Cracked lids and chipped corners in some cases
ClearSpace Plastic Storage Bins with Lids X-Large are highly recommended for anyone looking to declutter and organize their home. These bins are functional, versatile, and made of durable materials. With their clear design and easy-grip handles, they offer convenience and ease of use. Despite a few isolated incidents of broken containers and cracked lids, these storage bins have received overwhelmingly positive reviews from satisfied customers. Whether you need kitchen organization, pantry storage, or general home organization, these ClearSpace bins are an excellent choice.

Overall Score: 8.5/10
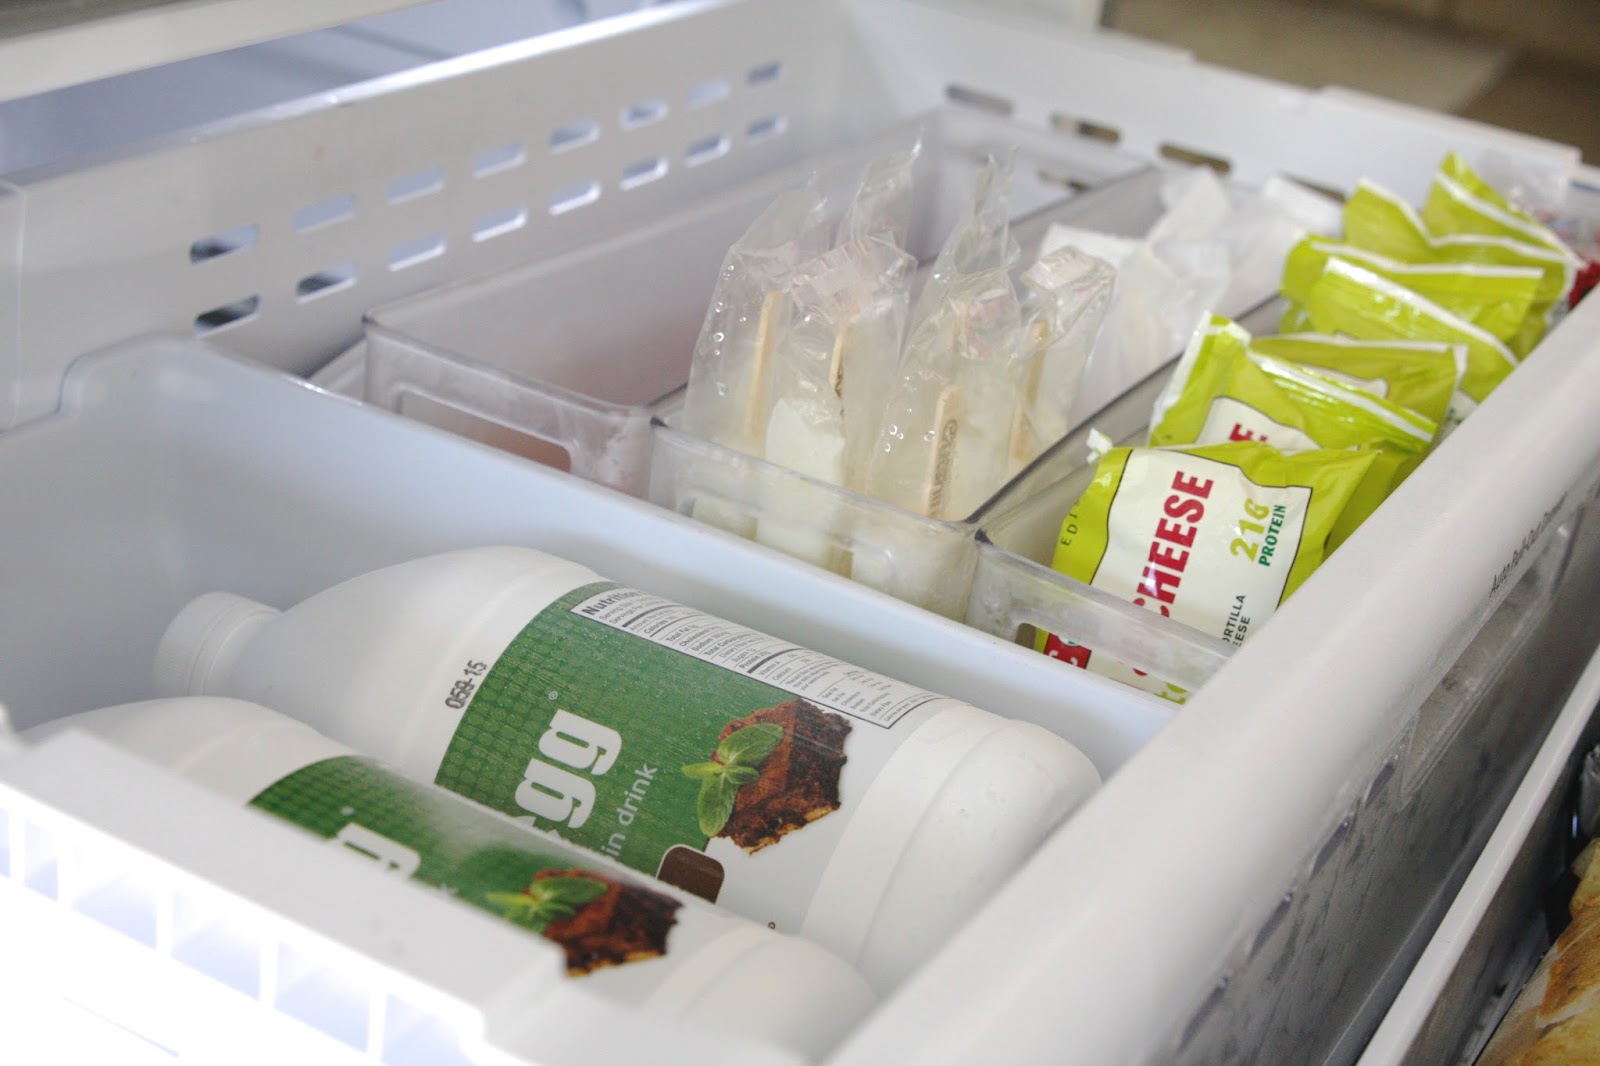
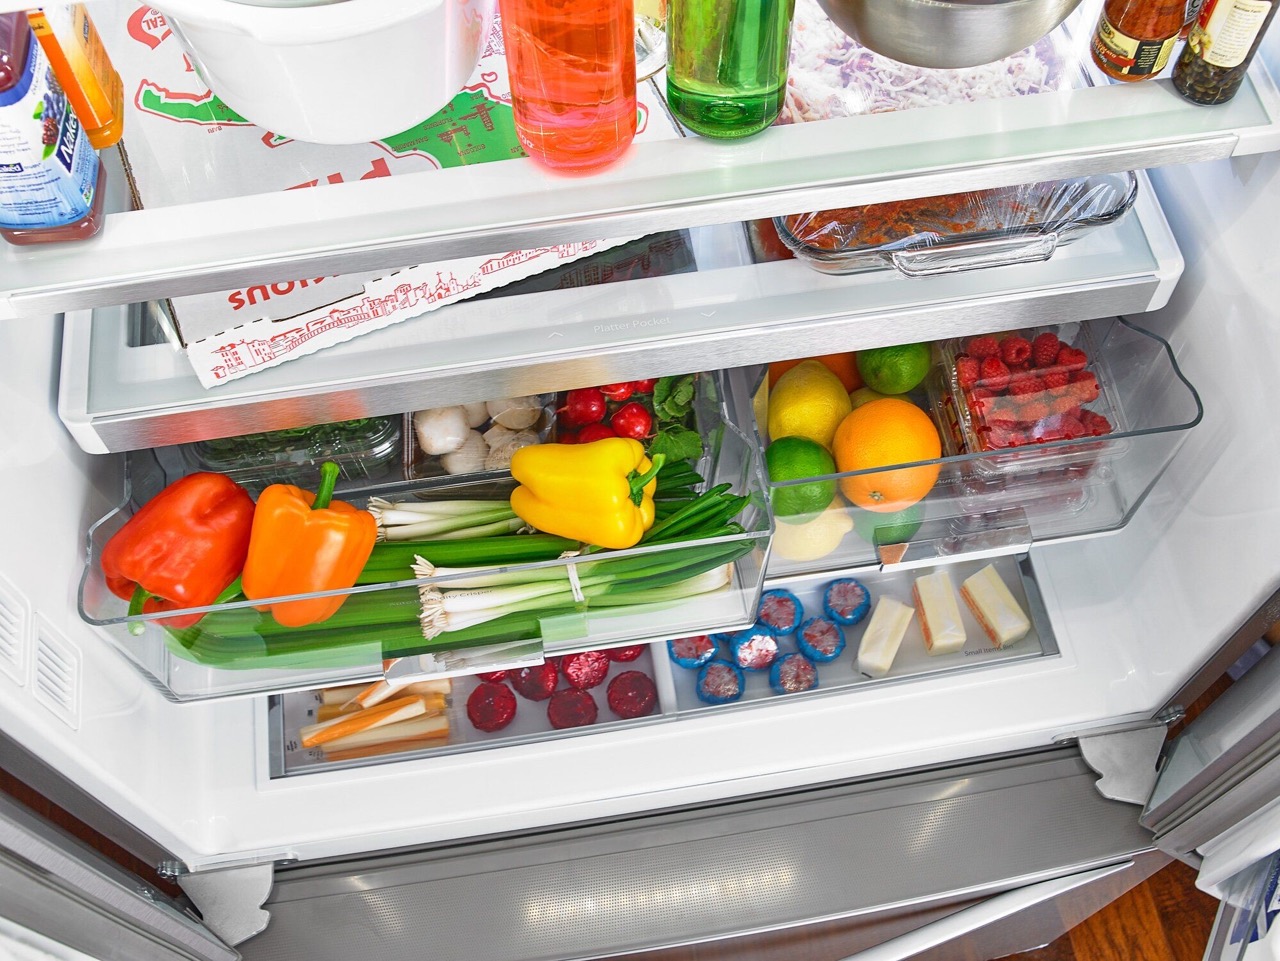
Maximize your refrigerator storage space with these stackable, clear plastic containers. Made of durable PET plastic, these BPA-free bins are great for storing fruits, vegetables, food, drinks, and more. The lids prevent dust and odors, while the drain hole allows for easy water drainage. With three different sizes included, you can easily organize your refrigerator and find what you need quickly. The transparent material gives you a clear view of the contents, and the containers are easy to clean. However, they are not dishwasher or microwave safe. Overall, these refrigerator organizers are a practical and versatile storage solution for any kitchen.
Key Features
- Ideal storage choice for organizing your fridge
- Stackable design to maximize storage space
- Made of clear and durable PET plastic
- Set of 7 containers in different sizes
- Lids prevent dust and odors
- Drain hole for easy water drainage
Specifications
- Color: Transparent
- Dimension: 12.59Lx8.26Wx4.35H
- Unit count: 7
Pros
- Maximizes fridge storage space
- Clear view of stored items
- Durable and long-lasting material
- Easy to clean
Cons
- Not dishwasher or microwave safe
- Some users found them smaller than expected
- Stacking requires disassembly to access contents
The Set Of 7 Stackable Refrigerator Organizer is a practical solution for organizing your fridge. With its stackable design and clear, durable plastic material, you can maximize your storage space and easily find what you need. The lids prevent dust and odors, and the drain hole allows for easy water drainage. While not dishwasher or microwave safe, these containers are easy to clean and offer a clear view of the contents. Some users found them smaller than expected, but overall, they are a great addition to any kitchen. Whether you want to organize fruits, vegetables, drinks, or condiments, these refrigerator organizers are a worthy investment.

Overall Score: 8/10
Declutter your drawers and pantry with this all-in-one Ziplock Bag Organizer. It is designed to hold various sizes of ziplock bags and also features designated slots for standard 12" rolls of aluminum foil and plastic wraps. The engraved letters on the organizer make it easy to recognize the bag sizes without any label or sticker mess. Made with beautiful and lasting bamboo, this organizer adds a touch of elegance to your kitchen. It can be easily cleaned and setup in your favorite spot. The magnetized cover slider allows for easy sliding in and out of rolls. Additionally, the organizer can be hung on the wall with pre-cut nail anchors. With non-skid feet, this heavy-duty kitchen food storage organizer is a must-have for any organized kitchen.
Key Features
- Fits all brand ziplock bags
- Fits standard 12" rolls of aluminum foil and plastic wraps
- Easily slide in and out the rolls from the side
- Engraved letters for convenient size recognition
- Can be hung on the wall with pre-cut nail anchors
- Non-skid feet for stability
Specifications
- Color: Wood
- Dimension: 13.40Lx13.40Wx2.80H
- Size: One Size
- Unit count: 1
Pros
- Organizes various sizes of ziplock bags
- Designated slots for foil and plastic wraps
- Easy sliding in and out of rolls
- Engraved letters for size recognition
- Can be hung on the wall
- Stable with non-skid feet
Cons
- Foil may rip if hesitated while cutting
- Only one side opens for bag insertion
- Does not accommodate parchment paper
The Ziplock Bag Organizer with Plastic Wrap and Foil Dispenser is a versatile and attractive solution for organizing your kitchen storage. It fits various sizes of ziplock bags and provides designated slots for aluminum foil and plastic wraps. The engraved letters on the organizer make it easy to identify the bag sizes without the need for labels. The magnetized cover slider allows for easy access to foil and plastic wrap rolls. Additionally, the organizer can be hung on the wall for space-saving convenience. Although it has some minor drawbacks, such as the possibility of foil ripping and limited bag insertion, overall, this organizer is a great addition to any kitchen.

Overall Score: 6/10
The Spartan Mount for Oculus Quest 1 is a customized mounting system designed to securely hold the Oculus Quest face mask and controllers. Made in the USA with 3D-printed precision fit, this mount provides compact storage or display for your VR headset. With its unique and attractive design featuring textured dark PETG plastic, the Spartan Mount is not only strong and safe but also adds an attractive touch to your collection. It is easy to install, with a versatile design that allows mounting on walls or other flat surfaces. Customers can expect exceptional customer service from Spartan Mount, with consistently high ratings and free returns offered. Keep your Oculus Quest organized and accessible with this reliable and stylish mounting solution.
Key Features
- Customized mount for Oculus Quest face mask and controllers
- Made with textured dark PETG plastic for strength
- Quick and consistent mounting and removal
- Easy installation with versatile design
- Exceptional customer service
Specifications
- Dimension: 1.10Lx3.17Wx2.46H
Pros
- Securely holds Oculus Quest face mask and controllers
- Strong and safe PETG material that won't mark or scratch
- Attractive design adds a stylish touch to your collection
- Easy to install on a variety of surfaces
- Exceptional customer service with free returns
Cons
- Mount for face mask may not securely hold
- Limited to use with Oculus Quest 1
- Some customers experienced issues with the mount sliding off
The Spartan Mount for Oculus Quest 1 is a reliable and stylish solution for storing and displaying your VR headset. With its customized design and strong PETG construction, it securely holds your Oculus Quest face mask and controllers. The versatile installation options make it easy to mount on walls or other flat surfaces. While some customers have reported issues with the face mask mount, the overall positive customer service experience makes it worth considering. Whether you want to neatly store your headset or proudly display your collection, the Spartan Mount is a practical and attractive choice.

Overall Score: 8/10
ClearSpace Clear Plastic Storage Bins is an ideal storage choice for creating a clean and organized refrigerator or pantry. The XL 4 pack bins are versatile and functional that can easily transform any room with instant organization. These are perfect for kitchen, fridge, pantry organization, cabinet organizers, laundry/utility rooms, bedrooms, bathrooms, craft rooms, offices, garages, toy rooms, playrooms, and more. These bins are made of durable and clear BPA and Chlorine free shatter-resistant plastic and have built-in, easy-grip side handles for easy transport. The perfect storage size of each bin measures 12” x 11” x 7”. Customers rate this product 4.7 out of 5. Some pros are that these storage bins are stackable and clear. Some cons are that these are thinner than expected and that they may arrive damaged. Overall, this product is a recommended buy.
Key Features
- Ideal storage choice
- Functional and versatile
- Portable and stackable
- Quality construction
- Perfect storage size
Specifications
- Dimension: 12.00Lx11.00Wx7.00H
- Size: XL 4 Pack
Pros
- Versatile storage
- Perfect for multiple types of storage
- Clear and stackable
- Good quality for the price
- Great customer service
Cons
- Thinner than expected
- May arrive damaged
ClearSpace Clear Plastic Storage Bins is a good buy for those looking for a versatile, stackable, and clear storage option in their homes. These bins can help you create a clean and organized space in any room and have received mostly positive reviews. Just beware of the possible damage during shipping and the thinness of the plastic material, and you’ll have a great addition to your home organization system.
Buyer's Guide: Storage and Organization
Helpful tips and tricks for streamlining your storage and organizing your life!
Read also: 14 Best Storage Cubes For 2024
Types of Storage Solutions
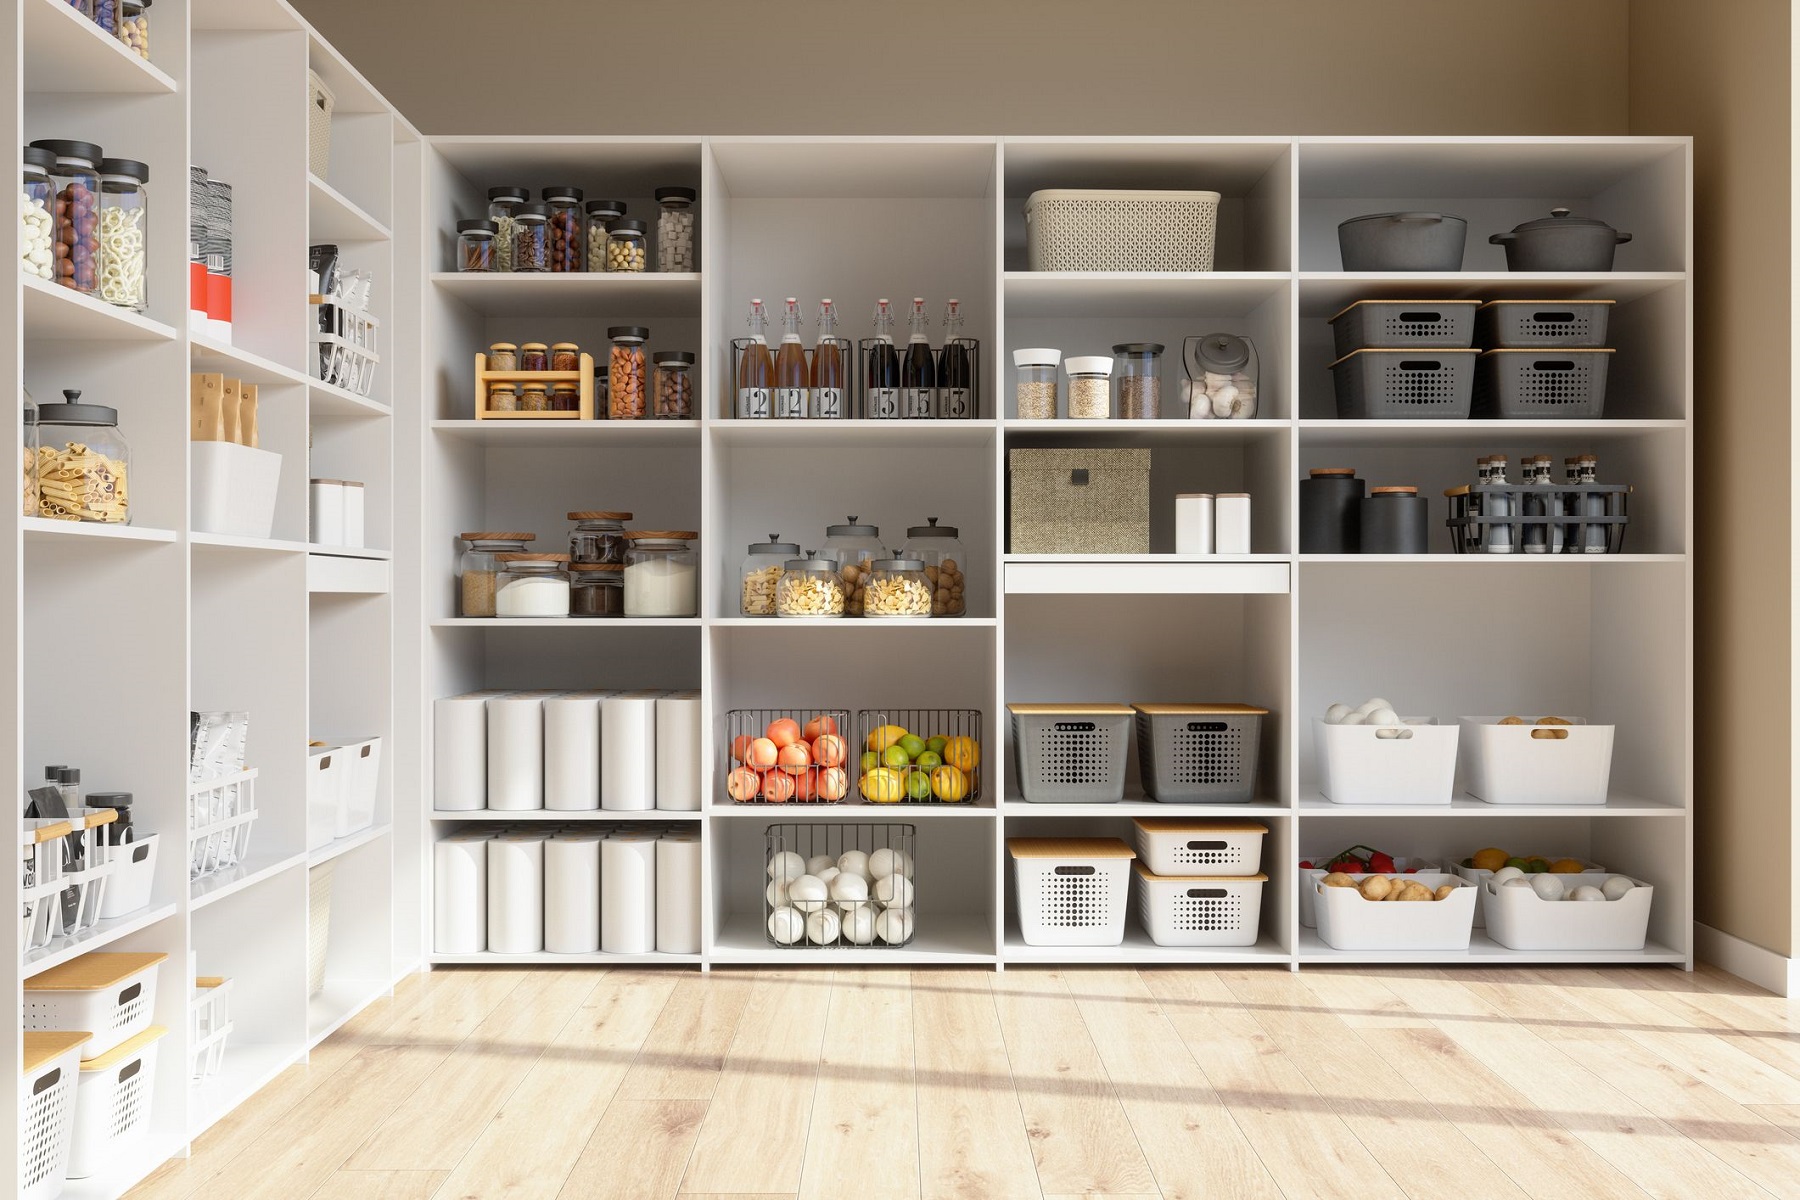
1. Shelving units
- Freestanding shelves: Versatile option suitable for any room, providing various storage levels.
- Floating shelves: Ideal for maximizing wall space and creating a contemporary look.
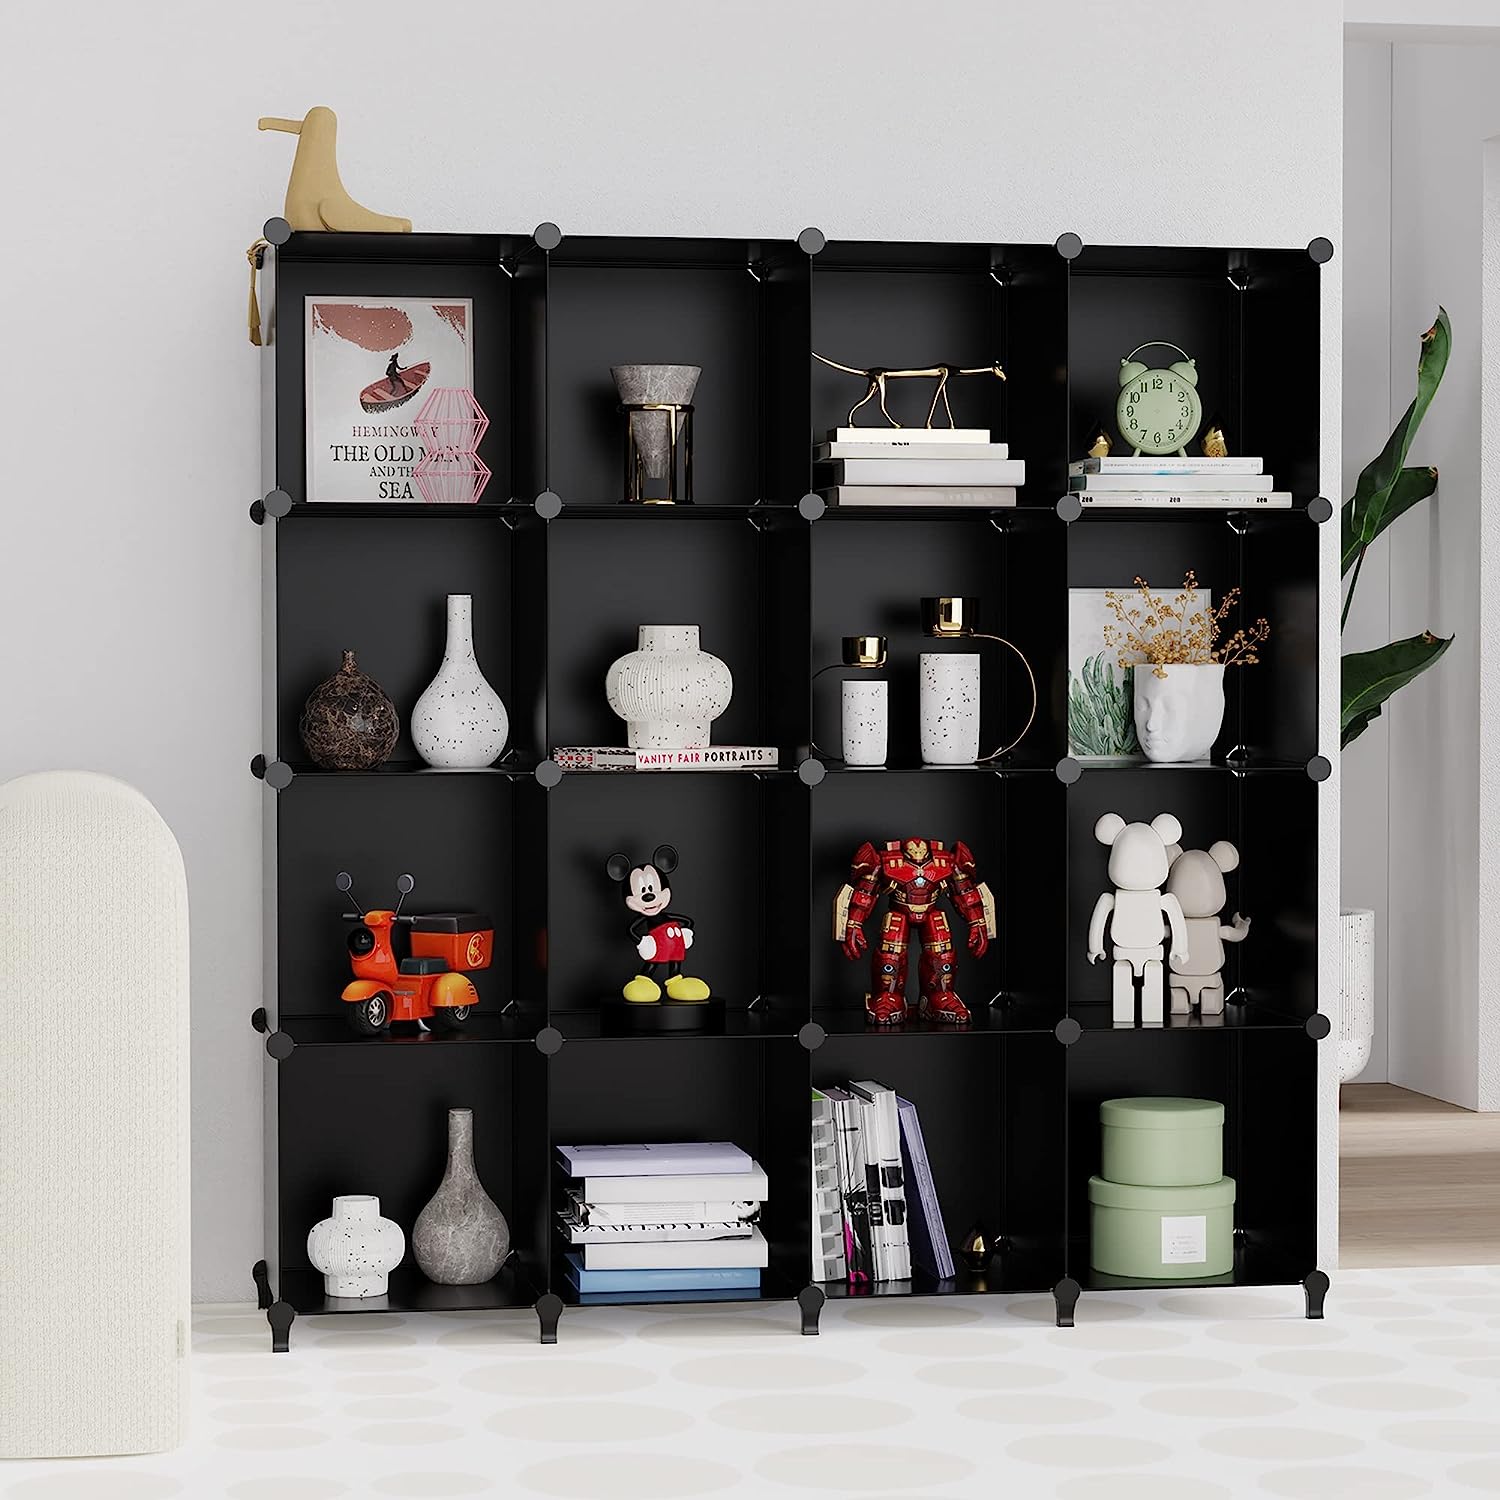
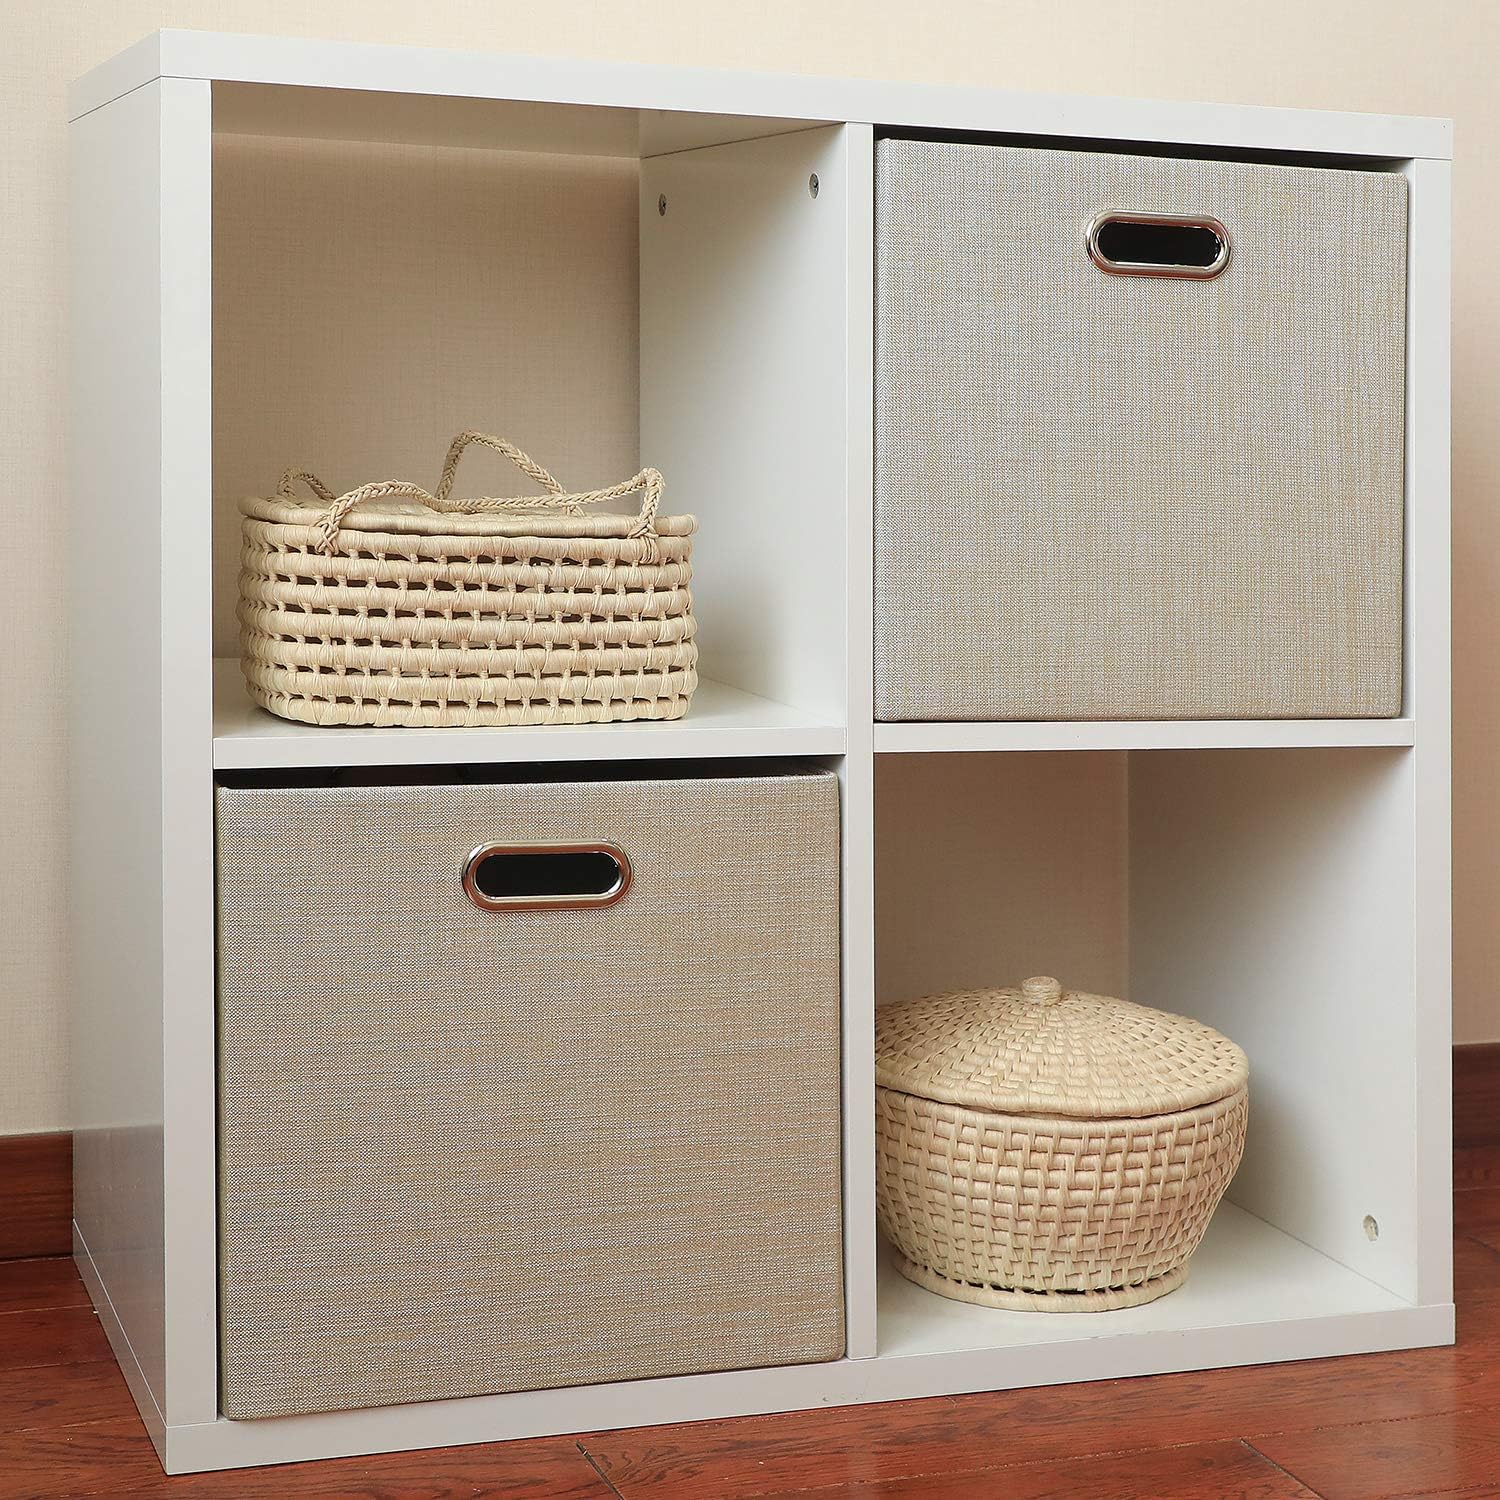
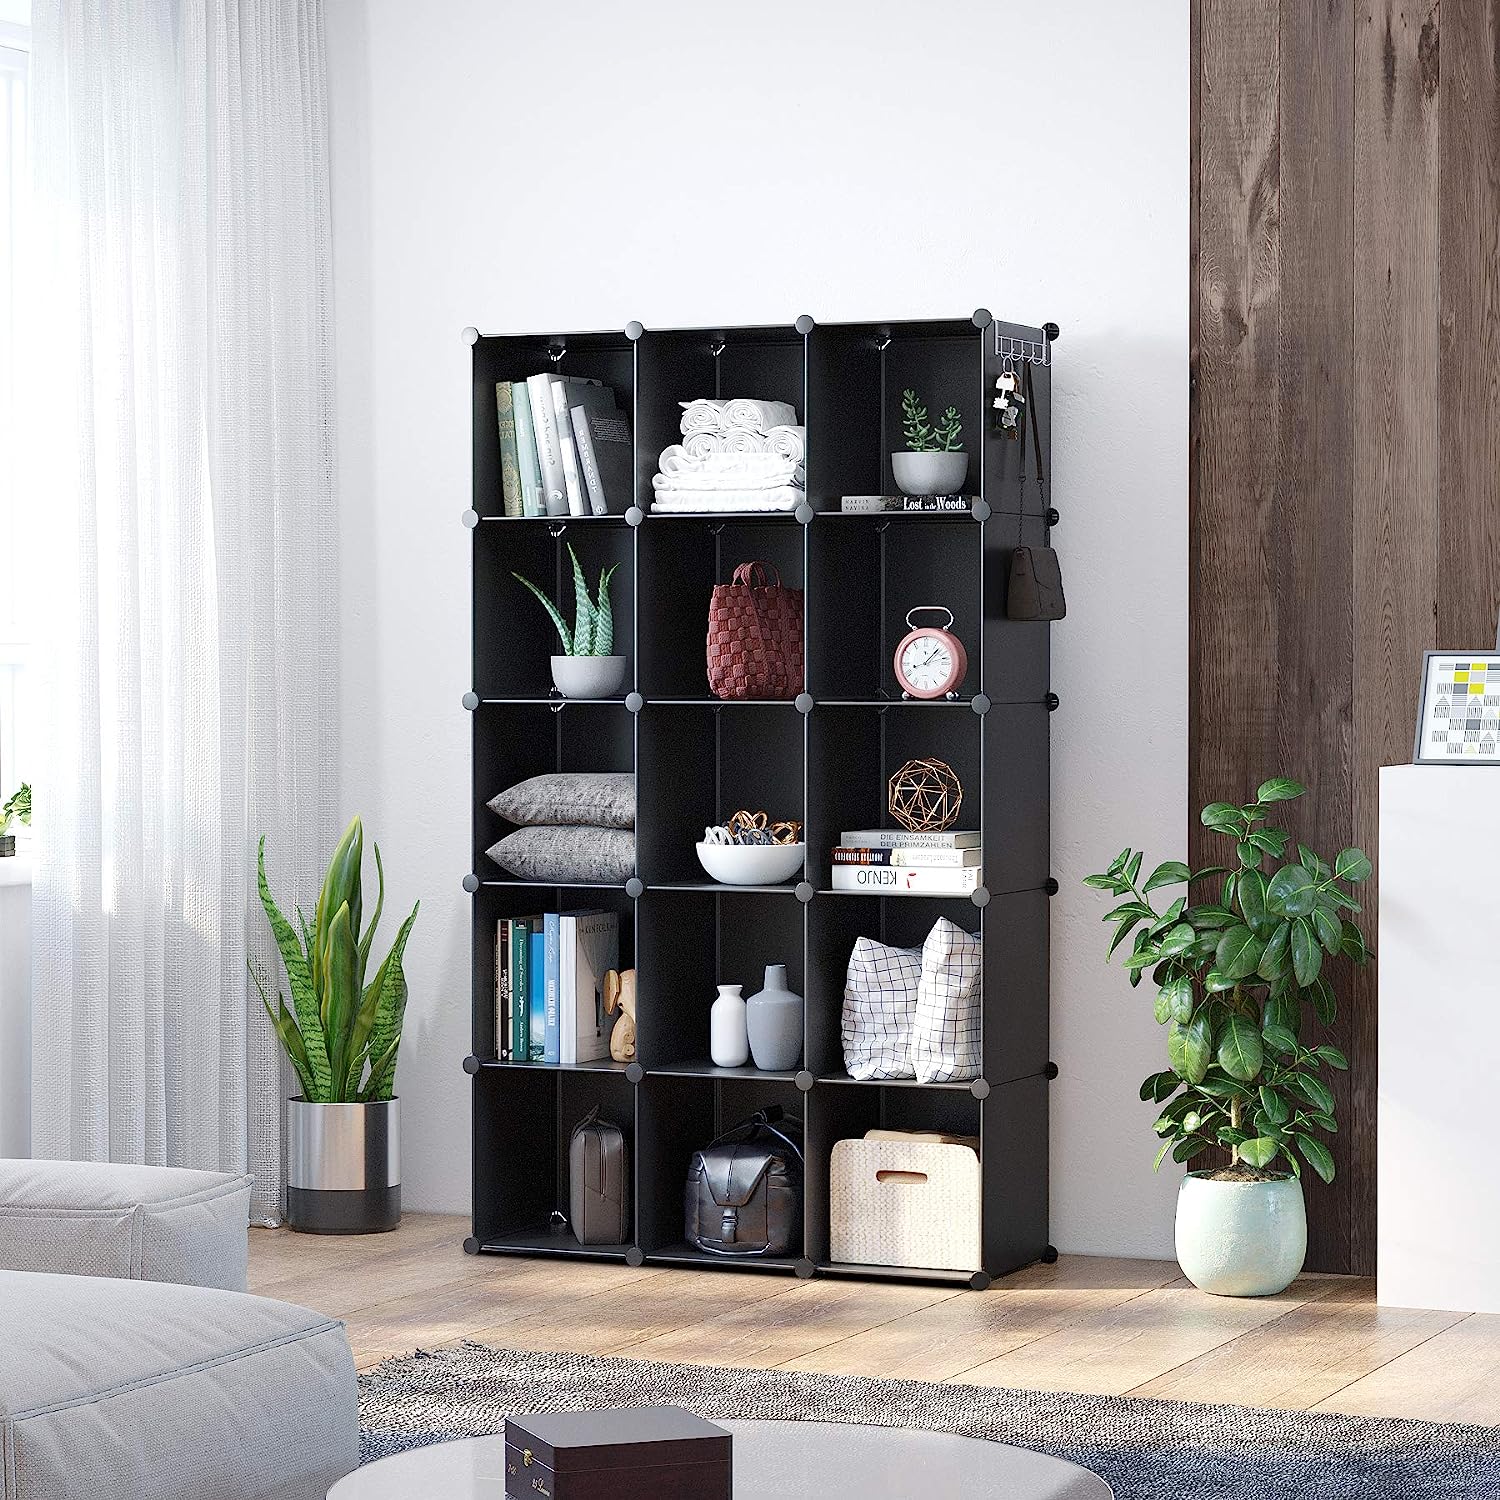
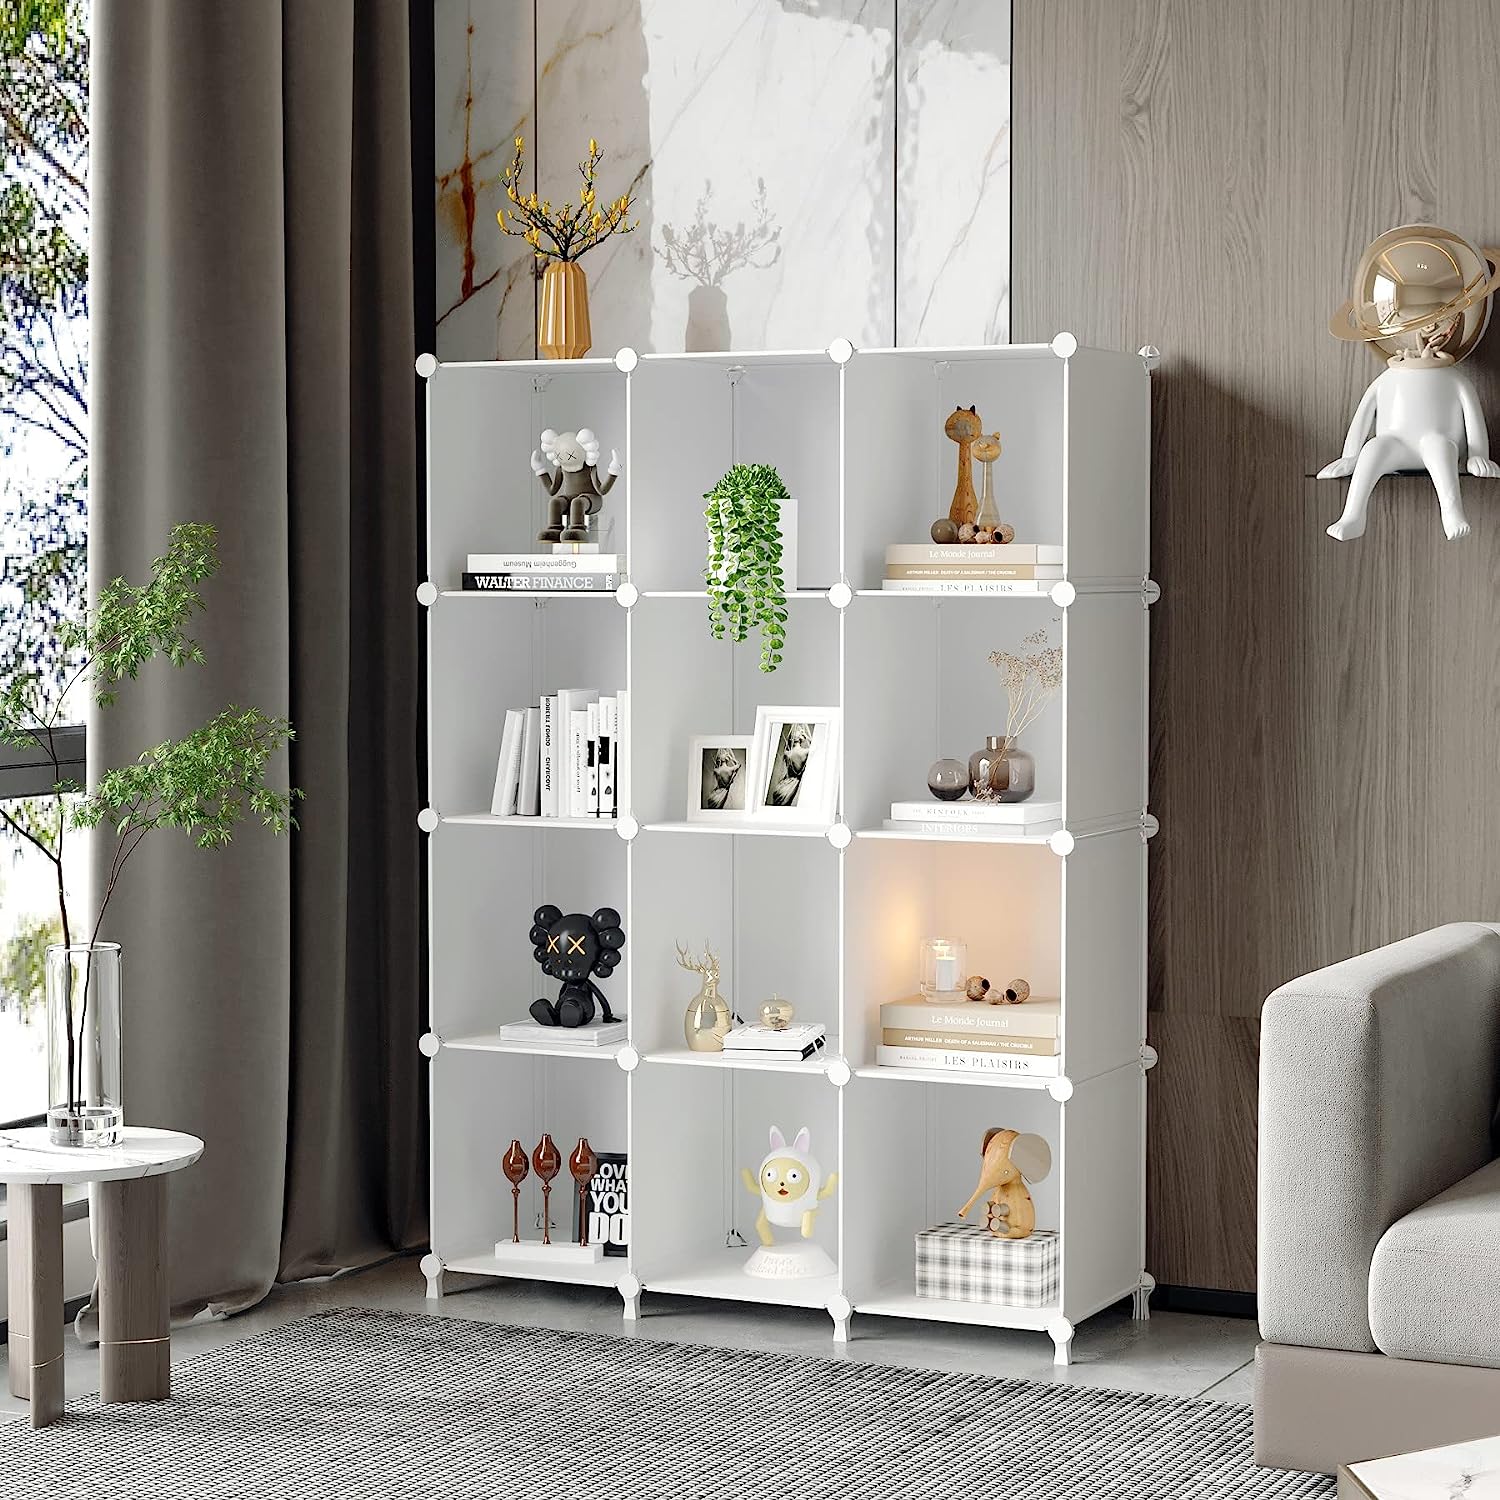
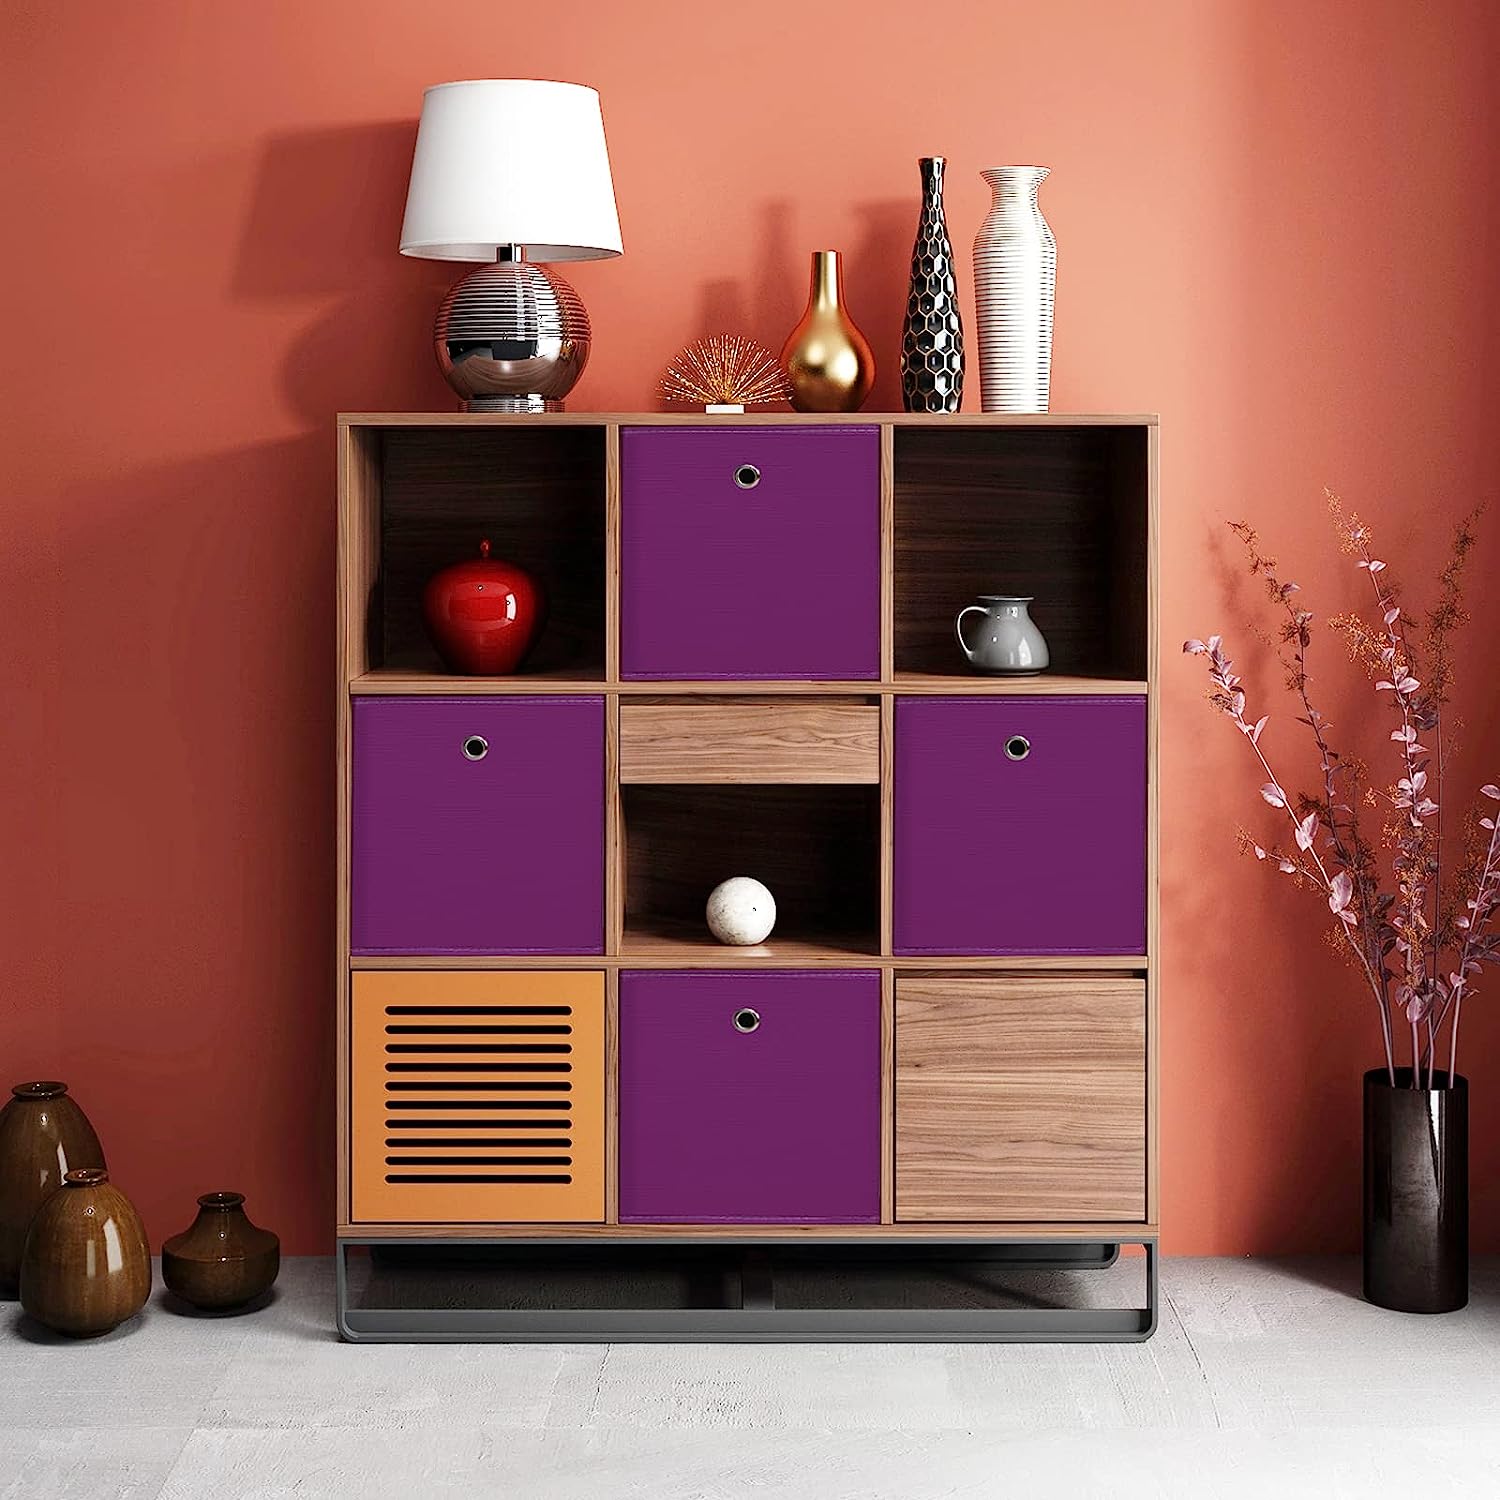
- Cube storage: Modular units offer customizability and versatility to fit your specific needs.
2. Storage bins and boxes
- Plastic bins: Durable and stackable, perfect for storing items out of sight.
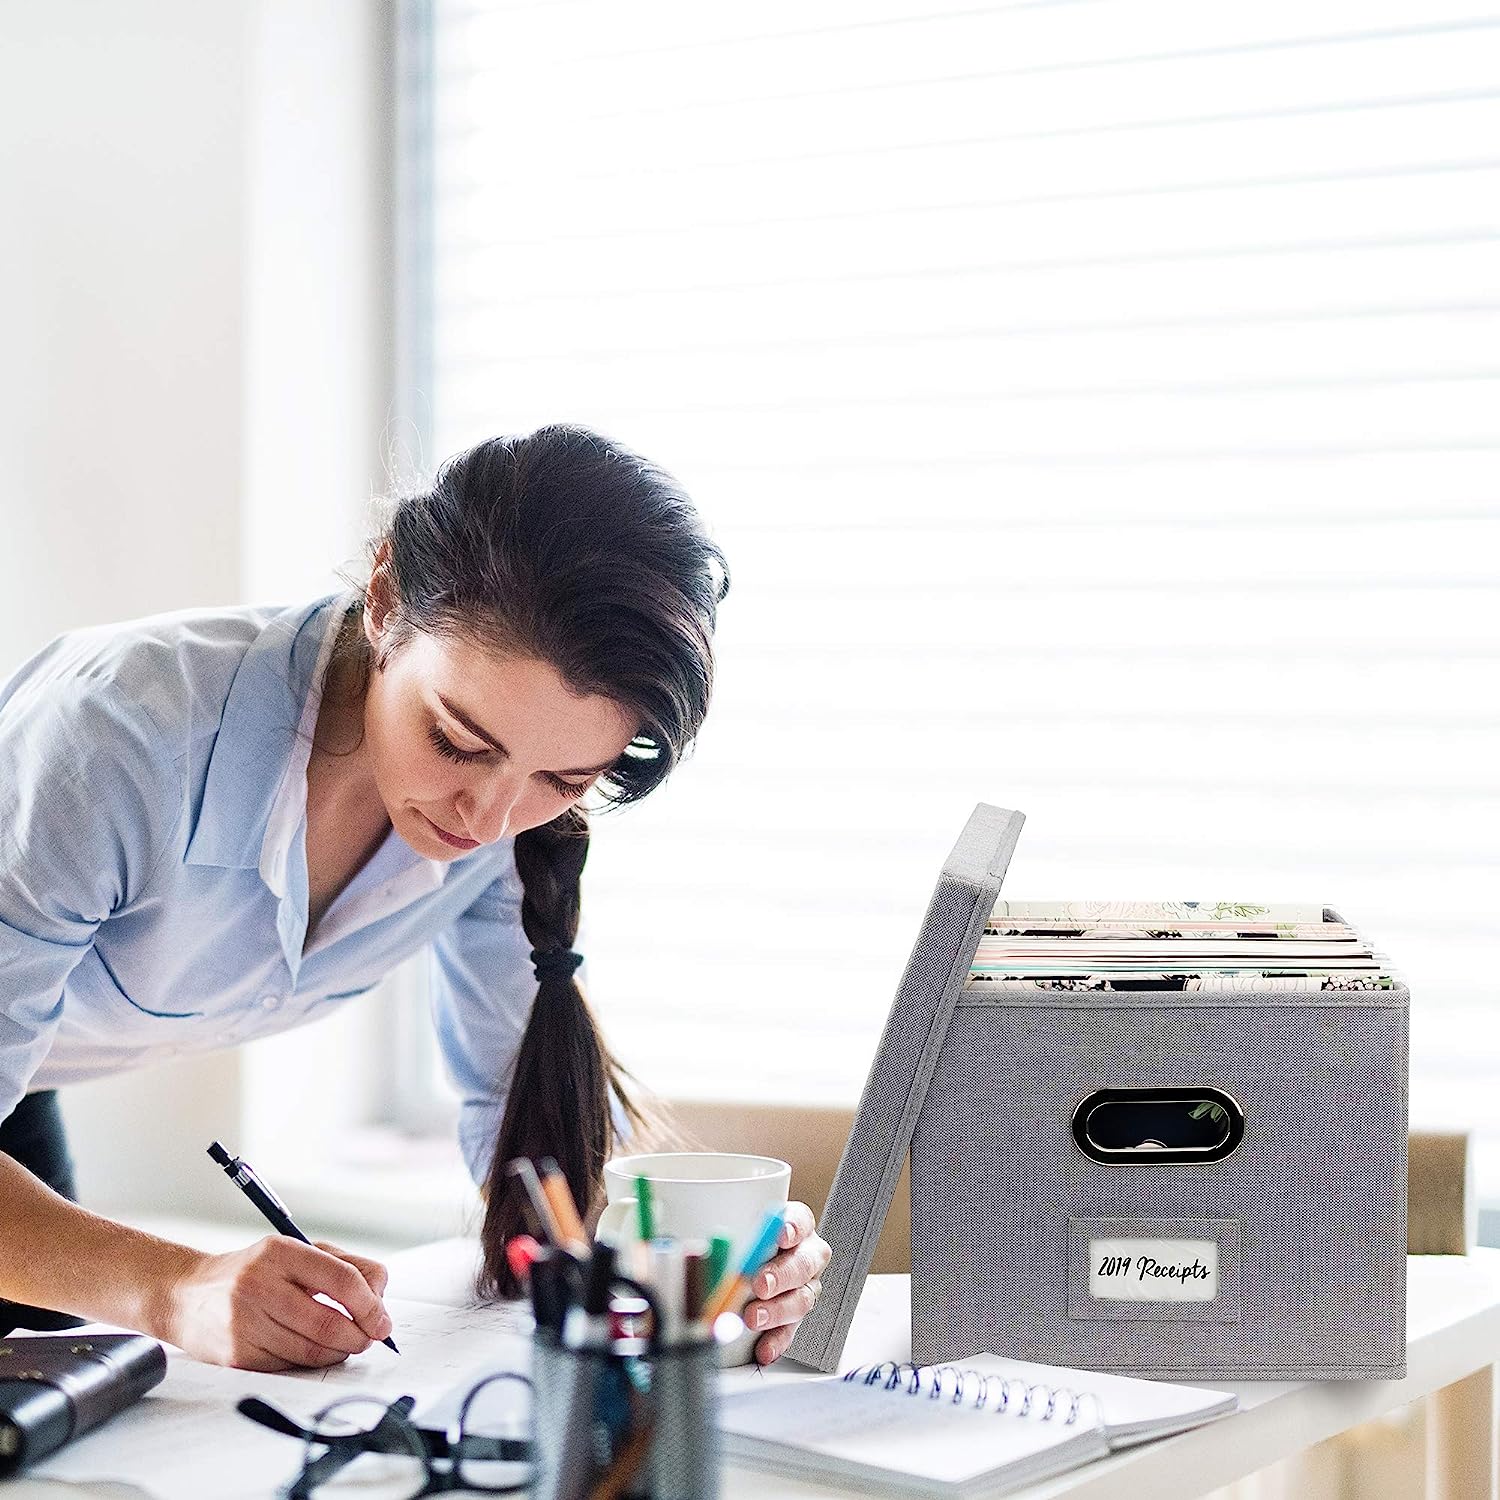
- Fabric storage boxes: Soft, collapsible containers that add a touch of style while keeping your things organized.
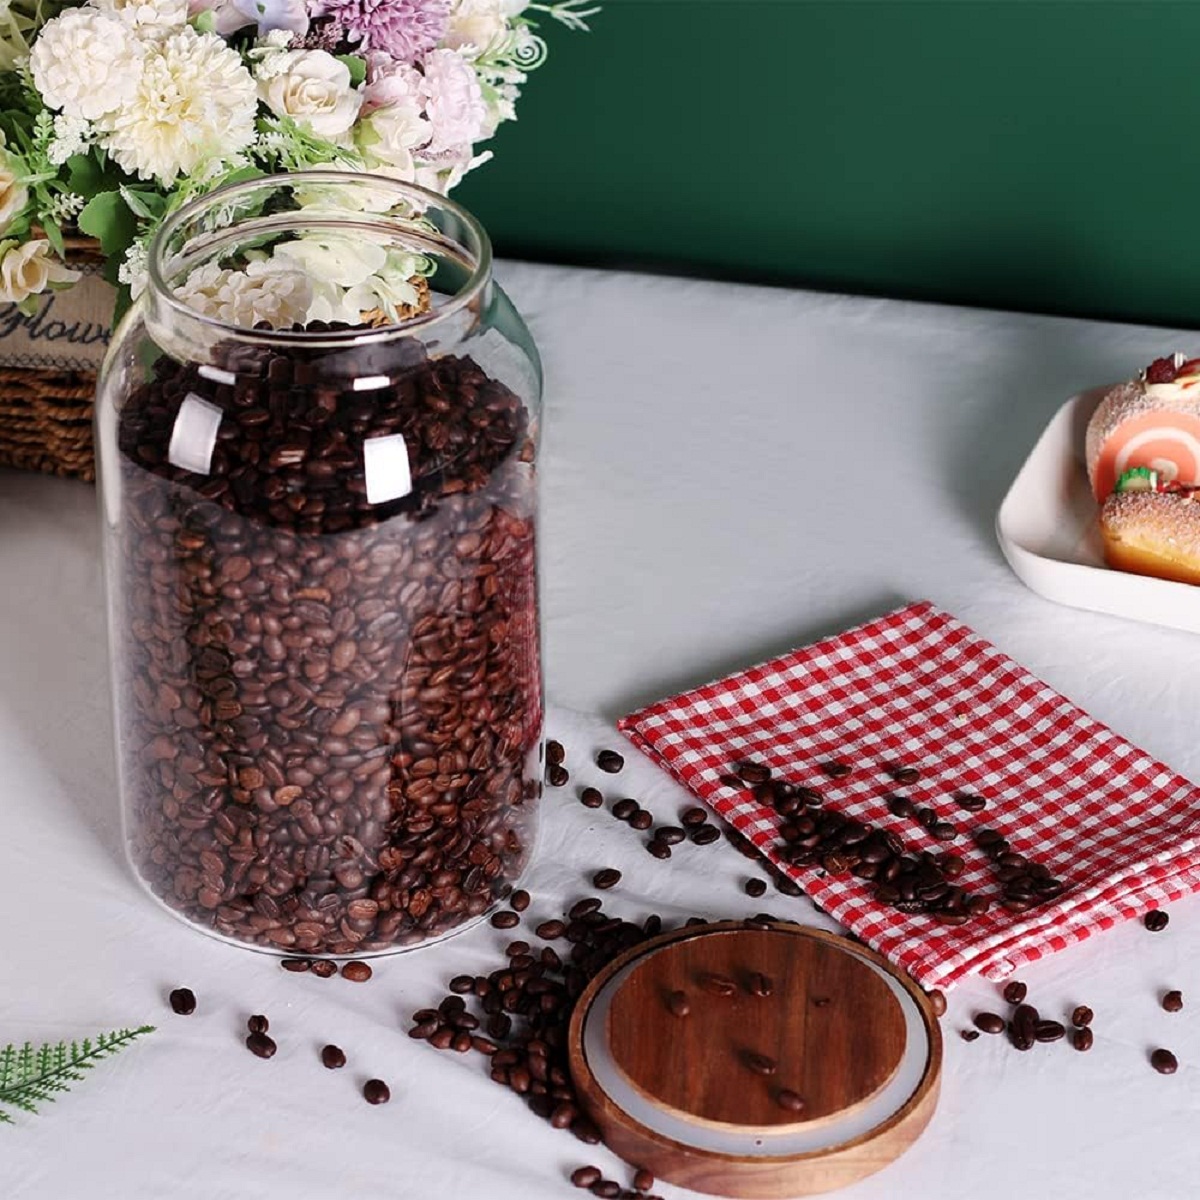
- Clear, labeled boxes: Allows easy identification of contents and ensures convenience when searching for specific items.
3. Cabinets and dressers
- Lockable cabinets: Ideal for keeping valuable or sensitive items secure.
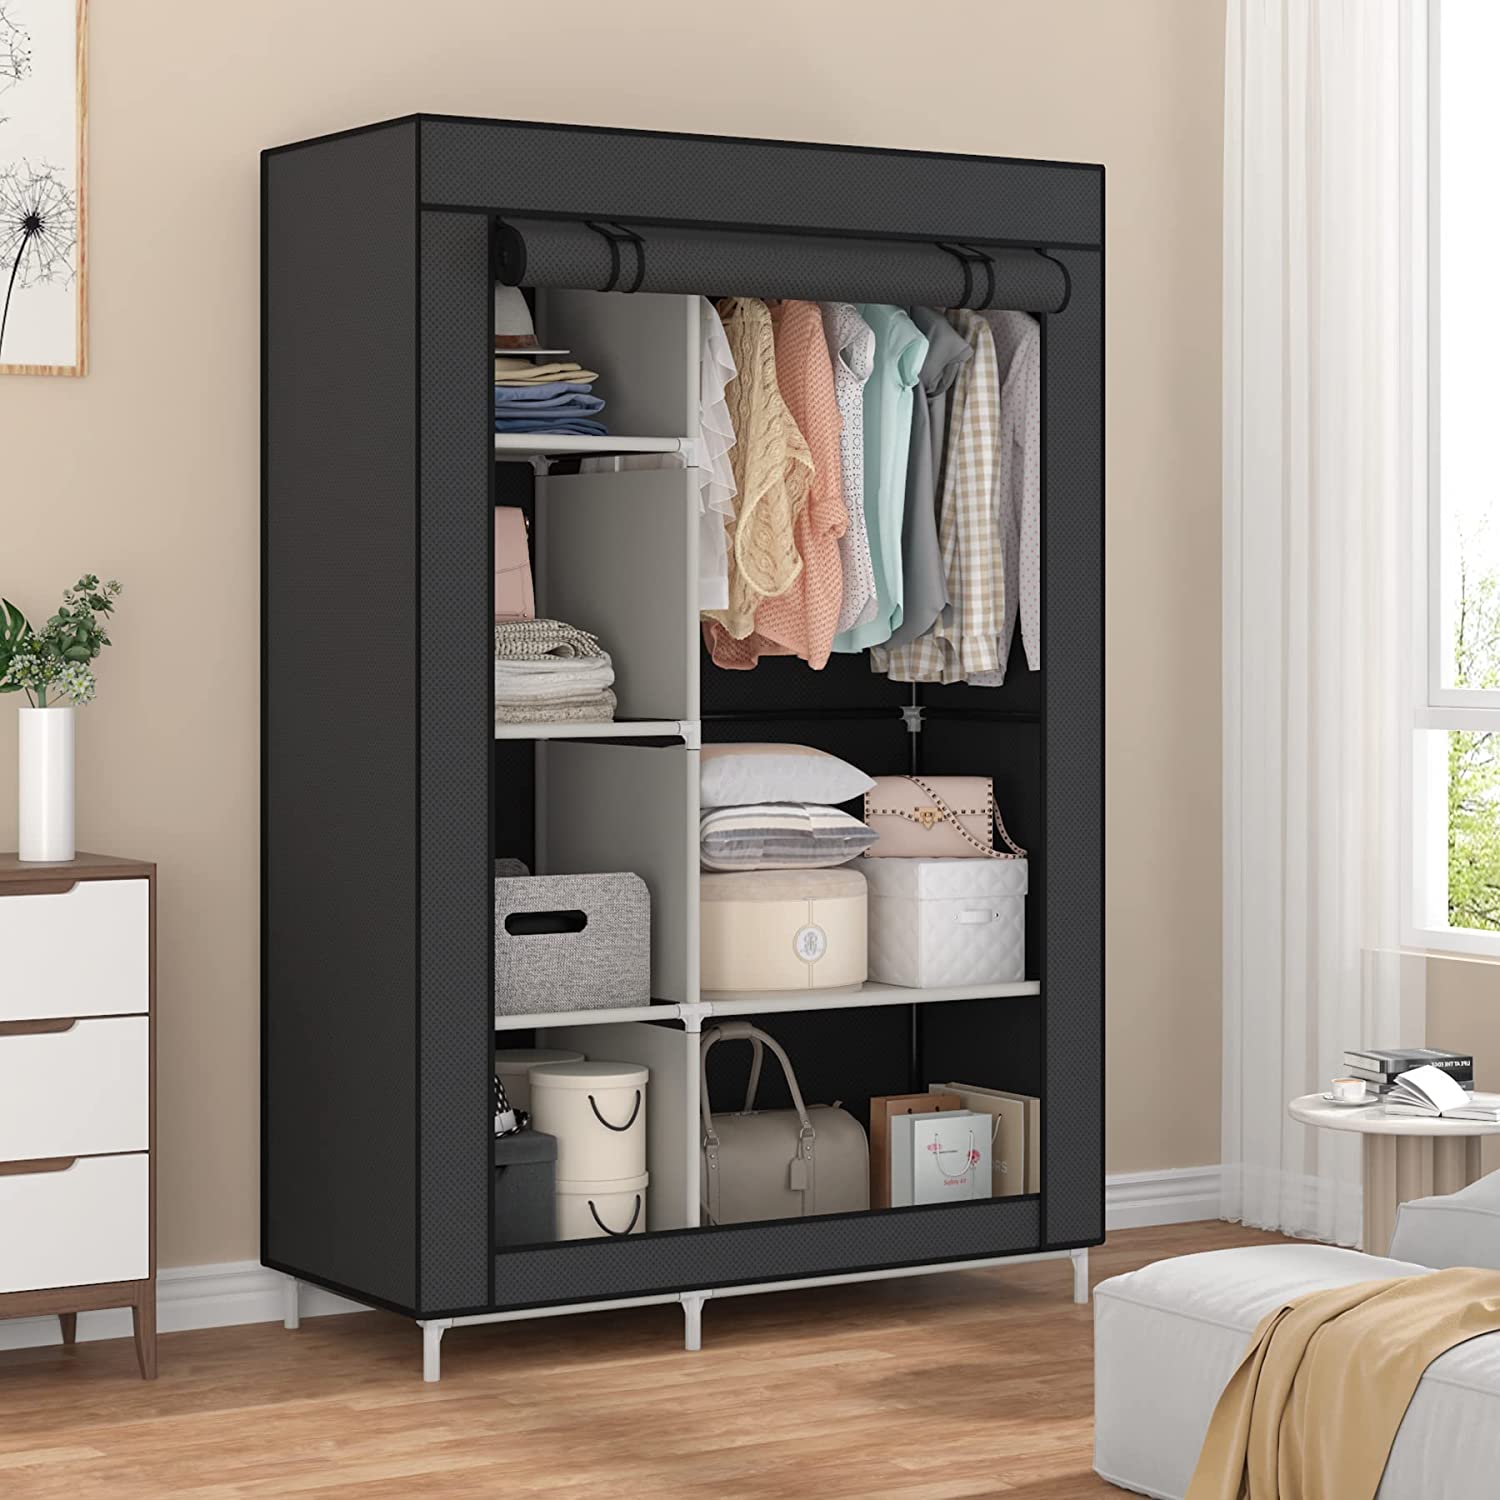
- Multi-drawer dressers: Offer ample storage for clothing, accessories, and other personal belongings.
4. Hooks and racks
- Pegboards: Versatile and customizable, they allow you to hang tools, accessories, and smaller items neatly.
- Coat racks: Perfect for entryways, providing a designated spot for jackets, scarves, and hats.
- Command hooks: Damage-free option to hang lightweight items like keys, kitchen utensils, and towels.
Factors to Consider
- Available space: Measure the area intended for storage to ensure your chosen solution fits perfectly.
- Functionality: Determine what items you need to store and consider accessibility and ease of retrieval.
- Aesthetics: Choose storage solutions that complement your existing decor and create a cohesive look.
- Durability: Opt for high-quality materials to ensure longevity, especially for frequently used storage options.
- Versatility: Select items that can be repurposed or easily adapt to different spaces as your needs change.
- Budget: Set a realistic budget and explore affordable options without compromising on quality.
Organization Tips and Tricks
1. Declutter before storing
- Remove items you no longer need, creating a cleaner and more organized space.
- Donate or discard unwanted belongings to make room for the essentials.
2. Categorize and label
- Sort belongings into categories such as clothing, accessories, or kitchenware.
- Label boxes and bins to easily locate items without rummaging through everything.
3. Utilize vertical space
- Install shelving units or use stackable storage bins to maximize vertical storage capacity.
- Hang hooks and racks to keep frequently used items within reach without cluttering surfaces.
4. Make use of underutilized spaces
- Utilize under-bed storage containers, over-the-door organizers, or wall-mounted shelves to utilize every inch of space.
- Transform unused corners into functional areas with corner shelves or hanging planters.
5. Create designated spaces
- Assign specific areas for different categories, such as creating a "charging station" for electronics or a "mail center" for incoming papers.
- Designate zones in the kitchen for frequently used items, making cooking and meal prep more efficient.
Frequently Asked Questions about 14 Best Storage And Organization For 2024
Consider using vacuum-sealed bags to minimize the space taken up by bulky winter clothing during warmer months. Additionally, storing seasonal items in labeled bins or garment bags would help preserve their quality and make finding them easier when needed.
Maximize vertical space by utilizing hanging organizers for accessories, shoe racks, and stackable bins. Remove items that are rarely worn, and consider donating or storing them elsewhere. Ensure items you frequently reach for are easily accessible by placing them at eye-level or within arm’s reach.
Install cabinet organizers, spice racks, and drawer dividers to optimize kitchen storage. Group similar items together, such as baking supplies or spices. Utilize wall space by hanging pots and pans or installing a pegboard for frequently used utensils. Regularly clean out expired food items to maintain an organized pantry.
Floating shelves or wall-mounted cabinets can provide additional storage without taking up valuable floor space. Use desk organizers, document trays, and drawer dividers to keep paper clutter under control. Implement a filing system for important documents, ensuring they are easily accessible when needed.
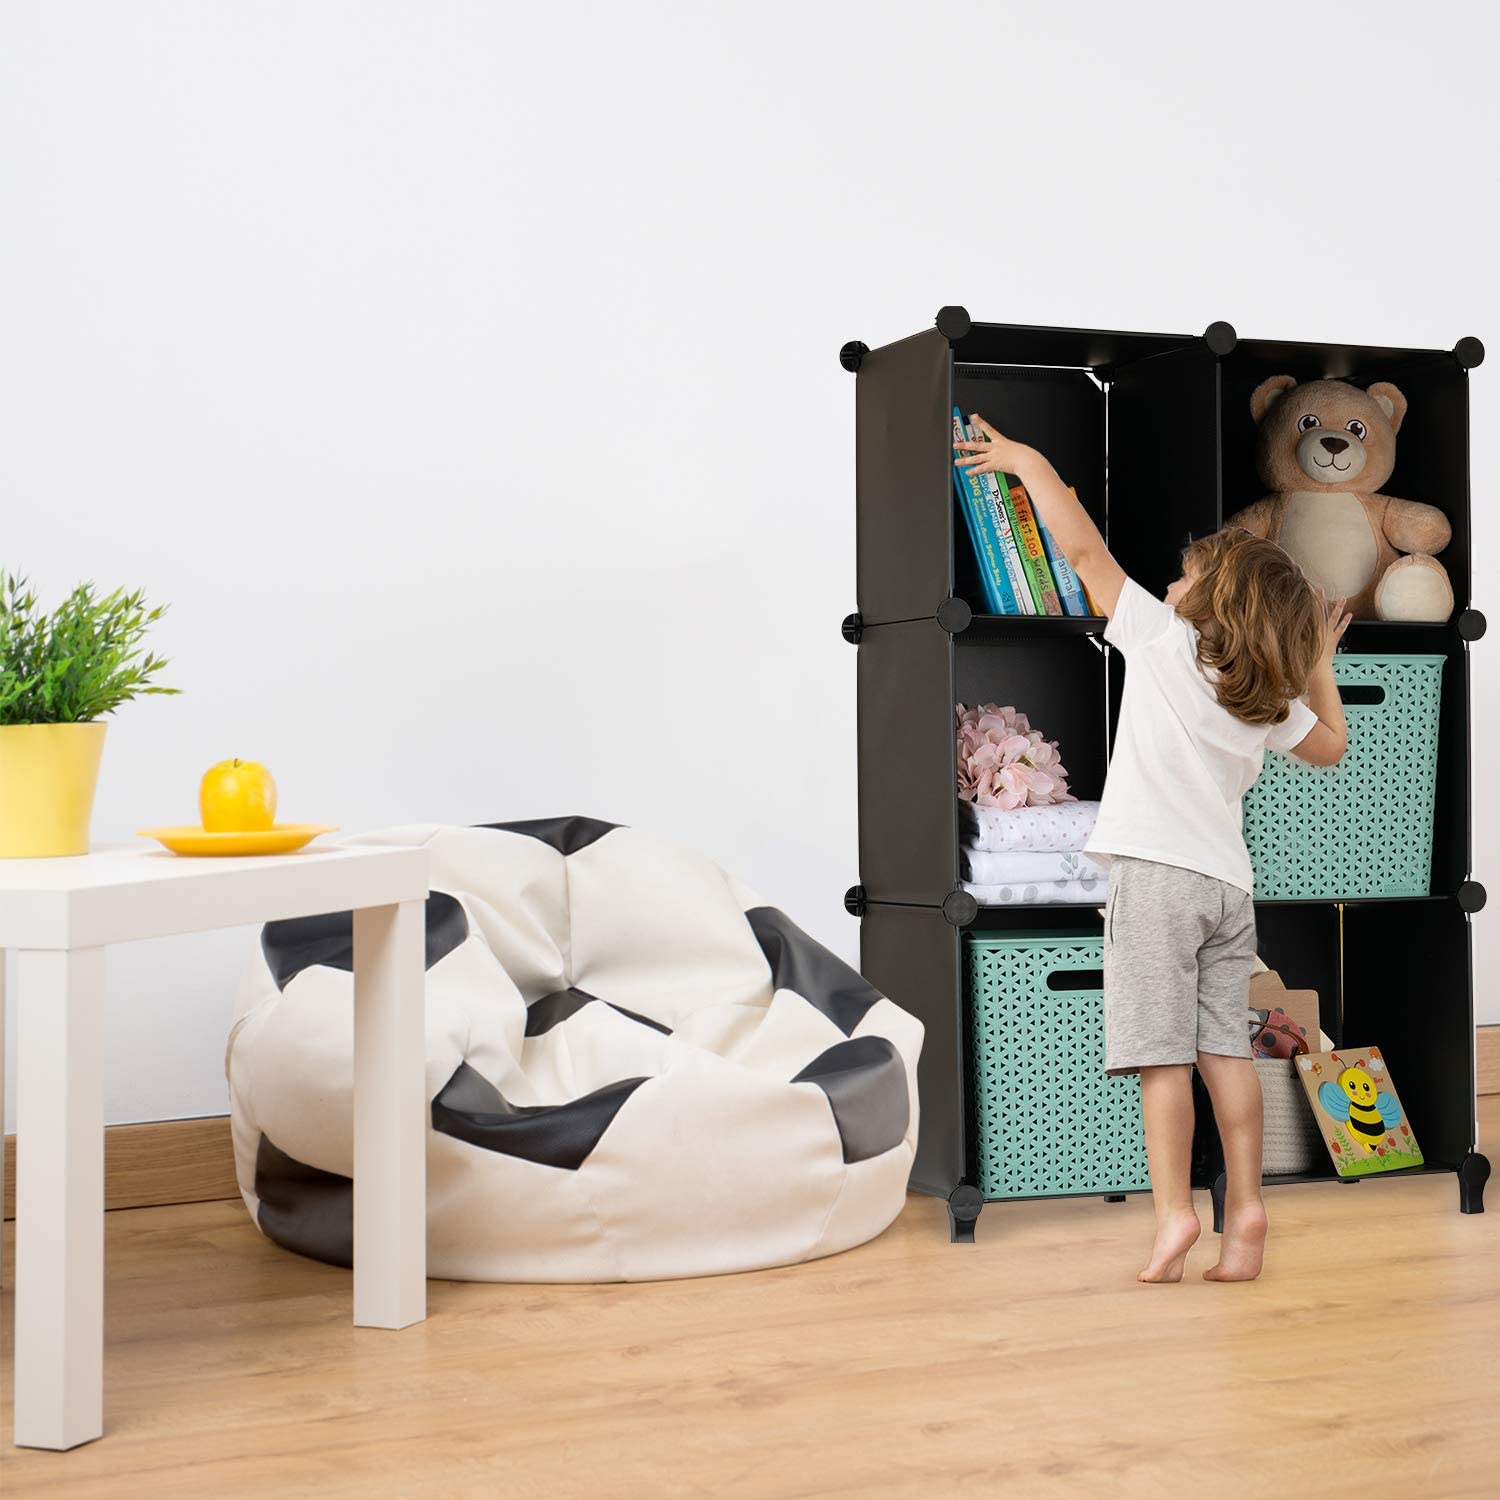
Utilize clear, labeled bins to sort toys by category, making it easier for kids to find and put them back. Install low shelving or use cube storage for easy access to frequently used toys. Teach children the importance of cleaning up after playtime to maintain an organized space.
Was this page helpful?
Trust Storables.com for unbiased and honest product reviews. Our reviews are rigorously assessed by our Expert Board Contributors and adhere to strict Editorial Standards. We ensure that each review is transparent and trustworthy, helping you make informed purchasing decisions.

0 thoughts on “14 Best Storage And Organization For 2024”